L1-7. The Gauntlet Walk 'Murder-Gallery Corridor'
Suel function & motif
- Purpose (old): Defensive artery linking armory and forge to the east passage that skirts the guest rooms. In war, attackers were trapped between twin portcullises (A & B) while crossbowmen raked from the southern murder gallery (2.b) and ignited oil from the northern gallery (9) that drained through these wall basins into Rooms 3A–3C.
- Motifs: Bralm (hex-comb bands over basins; industry), Pyremius (soot-blacked relief vents; flame), Wee Jas (ledger runes every sixth floor tile; order/control).
Layout & quick notes
- North run (40 ft) → turns east.
- South wall: Two pairs of double doors (your keyed Rooms as desired).
- East run (70 ft): Spy-holes at eye level (south) and half-round basin drains (north) that feed Rooms 3A–3C; each basin has a thumb-sized bronze plug.
- Secret door (west entry): wedged open; grinding it shut requires DC 16 Athletics and a lever or prybar.
Checks & discoveries
- Spy-holes: DC 13 Perception to notice; DC 15 Investigation to find the internal shutter slot. Creatures in 2.b can observe and fire through with three-quarter cover.
- Basins & drains: DC 12 Investigation or History/Religion to read the Bralm/Pyremius purpose; pouring 1 flask of oil into a basin sends it via bronze piping to the paired room (3A–3C). Lighting it from this side requires a tapered brand and DC 12 Sleight of Hand; the flame flares in that room (DM adjudicates as terrain hazard if relevant).
- Order tiles: Every sixth floor tile bears a faint ledger rune (Wee Jas). A measured march (players say they proceed by cadence/quiet verse) grants advantage on one check to notice the trap or spy-holes this room.
Twin Portcullises (A & B)
- Placement: A is near the start of the east run of the main red-tiled corridor; B is 30–35 ft farther east (before the corridor exits to your next key).
- Control: Dropped/raised from inside the southern murder gallery (2.b) and northern gallery (9) by counterweight cranks. No lever in the corridor.
- Stats: Each gate AC 19 (iron), HP 27, damage threshold 5. DC 17 Athletics to lift 3 ft as an action (maintain each round). Fail by 5+ → gate slams for 2d6 bludgeoning on the lifter and drops shut.
- Jam: DC 12 Sleight of Hand to wedge with spike; remote crews have disadvantage to close a wedged gate.
- Noise: Raising/dropping alerts nearby orcs in 2–3 rounds.
Hidden Pit (trap door to Level 2)
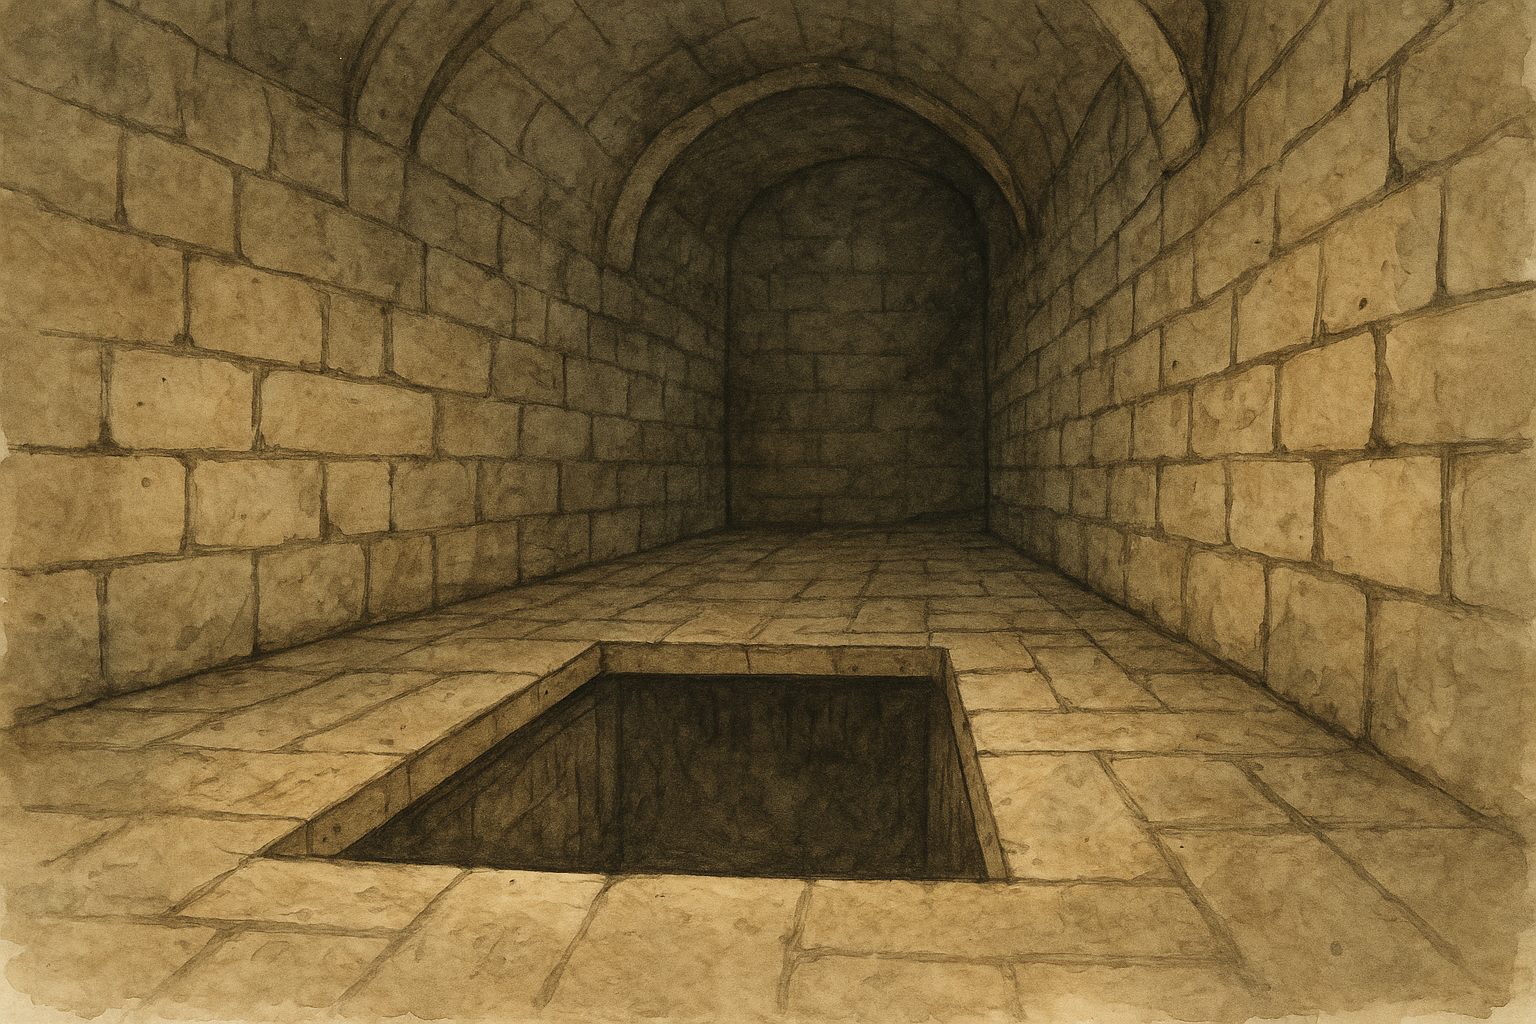
A disguised flagstone in the east run spans the center-line between A & B. It hinges into a 30-foot shaft dumping victims to Level 2, hall between Areas 10 & 11 (not yet written).
Detection & disable
- 5e equivalents (if you prefer DCs):
- Locate: DC 13 Perception/Investigation (advantage with 10-ft pole).
- Disable: DC 16 Thieves’ Tools (proficiency required).
- Avoid fall: DC 14 Dexterity save to leap back to safety (land prone on your square).
- Damage: Use your 2d6 module value, or apply standard falling (3d6 for 30 ft) in pure 5e.
Read-aloud — Perceived
Read-aloud — Triggered
Reset: Resets by counterweight after 1 minute unless wedged (DC 12 Sleight of Hand).
Doors on the south wall
- Construction: Double, stone-framed oak with iron bands; AC 15, HP 22, DC 14 Athletics to force.
- Sight lines: Spy-holes allow defenders in 2.b to see these doors and the pit tile at the same time.
Response clock (nearby)
- Any loud action (forcing doors, dropping gates, igniting drains) risks pulling a crossbow team from 2.b in 1–3 rounds, and a brace of orc reinforcements from the west in 2–4 rounds (adjust by your current alert level).
DM tips
- Let players who “read the room” (Suel motifs, cadence, using poles) feel rewarded with early detection.
- Use the portcullises and pit together: drop A, lure forward, trigger the pit, then drop B to frame a tense extraction or hostage exchange.
- If the party pours oil, make the consequences visible/hearable from beyond—heat shimmer, the crackle of fire in 3B, shouts through spy-holes—to sell the interconnected Suel engineering.

Area tags
choke point, engineering hazard, portcullises A & B, trap door to Level 2, lore (Bralm • Pyremius • Wee Jas)
Light • sound • smell
- Cold torchlight, long echo; a faint oil tang clings to the stone.
- When quiet, a slow drip within the drains can be heard.
Map notes
- Mark Portcullis A just past the east turn; Portcullis B midway to the far end.
- Place the pit tile between A & B (centered).
- Basins (north wall) align with Rooms 3A–3C; spy-holes (south wall) align with 2.b.
- Annotate the secret-door entrance at the west: “stuck open.”


Comments