L1-3B. Scorched Barracks
What this room is/was
Overflow barracks for a Howling Moon raid-band; originally a Suel burn room fed by oil ports from the hidden north gallery (as in 3A).
- Occupancy (when band is home): 50% chance of 2d4 orcs here; at night 25% chance a bugbear lounges, unseen until spoken light hits. One orc is half-awake by the door; others wake at disadvantage in round 1.
Features & checks
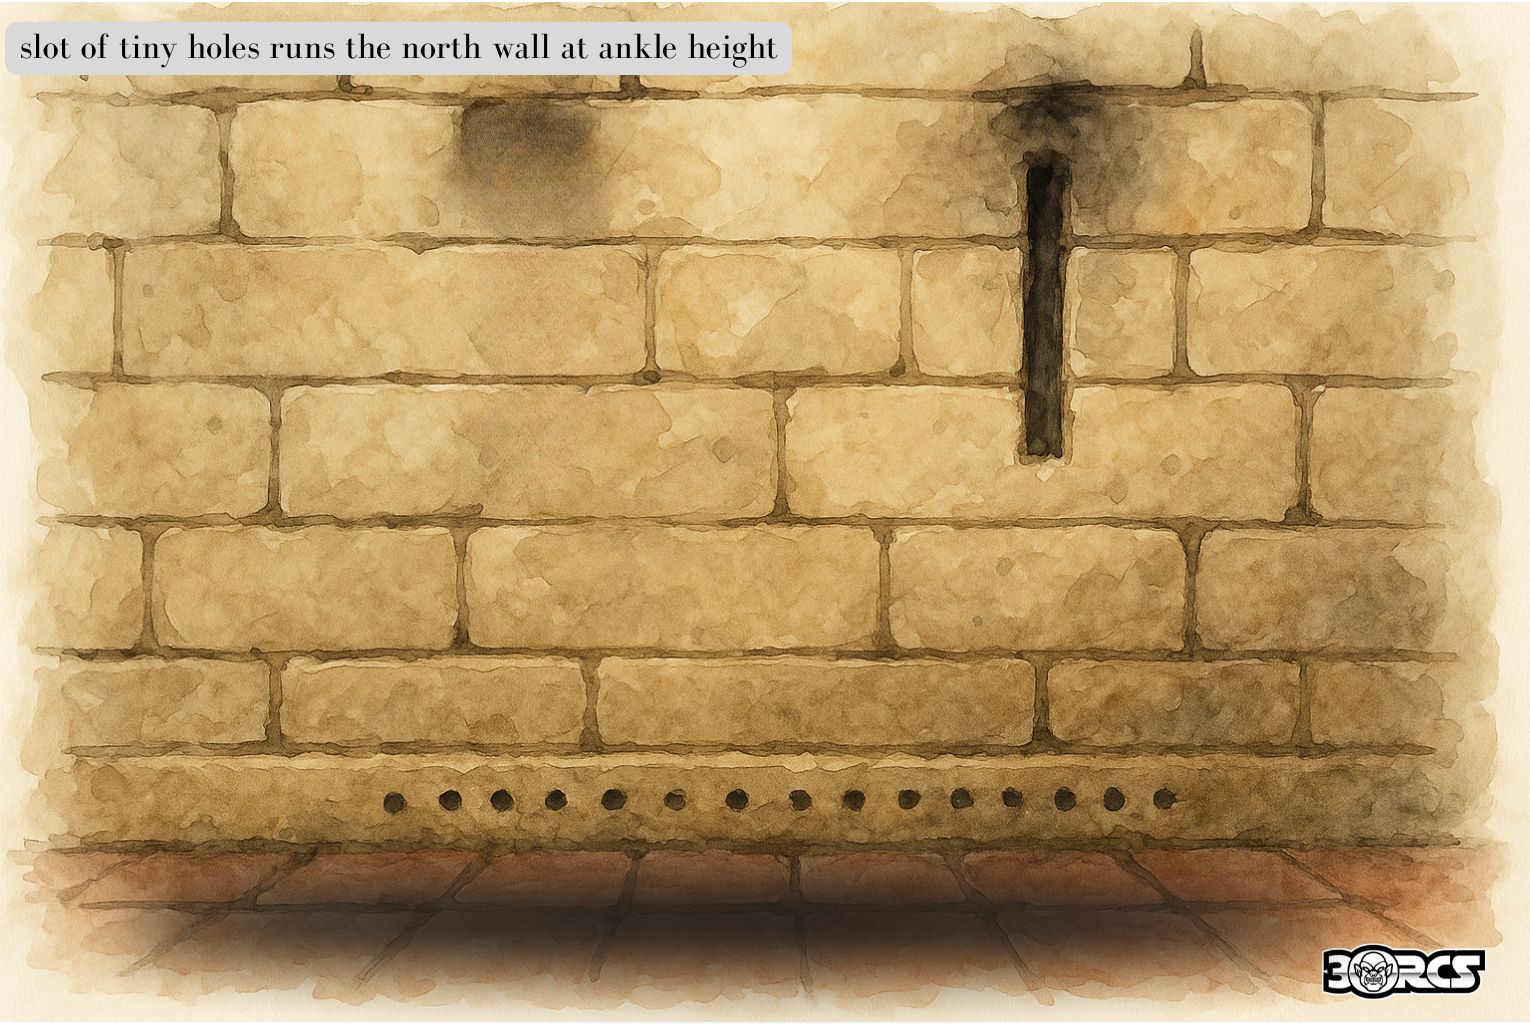
- Oil ports (north wall, ankle height): Investigation/Religion DC 12 identifies immolation design; Arcana DC 12 spots soot flow from past ignitions.
- Arrow slits (north, high): Archers in the gallery can fire into this room; going prone behind the chest or hugging the south wall grants three-quarters cover.
- Floor slope: Liquids run to the threshold; being in the doorway when flames start risks splash (see Burn mechanic).
- Charred chest (hinges removed): Empty; Investigation DC 12 notes scorch trails running from the wall ports directly across the lid—proof the oil-fire was used here. A single Suel electrum coin (2 gp) is fused into a crack (pry free with DC 10 check or a dagger).
Suel “Burn Room” mechanic (as 3A)
If oil is poured from the gallery or by the PCs:
- Spread: 3 rounds of slick film; moving more than half speed → Dex save DC 10 or prone.
- Ignite: Open flame → Dex save DC 13, 2d6 fire (half on save 1d6 at start of turns while on burning squares; burns out after 3 rounds unless fed.
- Door splash: In doorway on ignition → Dex DC 12 or 1d4 fire and burning droplets (action to douse).
Tactics & response
- If occupied: One orc kicks mats for cover, another shoves a PC toward the hall; a third runs to Room 3 (Ready Room) if no gong yet.
- Battle barks: “Found you! No more games—time to die!” “Bleed! Bleed and die!” “You are weak! I am stroooonng!”
- If fire starts: First round panic (attacks at disadvantage), then a reckless rush to the corridor.
If empty but noisy: Room 3 sends 2 orcs in 1 round (d6 → 3–6 if clamor continues, +1d4 more the round after.
Nothing of value (besides the coin)
Howling Moon stripped hinges, fittings, and most kit; stray bone dice (2 sp) or 1d6 sp in sticky coins may be under a mat.

Map notes
- Doorway on the south opens directly to the main red-tiled corridor.
- North wall shares stone with the murder/immolation gallery (not normally accessible from here).
- Rooms 3A and 3C mirror this layout along the same north wall further east.
Howling Moon Warband (when not out raiding)
- Headcount on-site (typical rest cycle): 2d4 orcs per room (3A–3C 1 bugbear lounging in darkness (25% per room, 75% at night).
- Shift pattern: 3 short watches (about 3 hours each). One orc “half-awake” by the door; others asleep or dicing.
- Gear to hand: javelins (2 each), axes, battered shields stacked near door; rot-spirit jug under the table; bone dice.
- Discipline cues: watchword pair—Call: “Black?” / Response: “Thorn.” Failure triggers a shove-and-stab.
- Alarm path: nearest orc sprints to Room 3 (Ready Room); second bangs shield on stone; third tries to bait intruders into the burn room trap.
- Fighting style: shove to doorway, swarm with advantage if two or more can dog-pile; bugbear flanks from darkness.
- Morale: steady while they think reinforcements are a shout away; if fire/oil ignites, first round at disadvantage, then reckless charge.


Comments