L2-25. Ringwall Grot
Why this room?
Troglodytes use the main south way but avoid this pocket, calling it the Bat-Stone. The hum you’ve tracked south is stronger here—caused by a cluster of darkmantles clinging among the stalactites and vibrating the chamber like a drum. Trogs sometimes bait the nest (throwing fish) to discourage pursuit—or drive the creatures at rivals.
Denizens (choose state or roll 1d4)
- Darkmantle Cluster (6) perched on the roof (MM).
- Darkmantle Cluster (8) and Violet Fungus (1) rooted in the inner wall’s shadow.
- Darkmantle Cluster (6); a Troglodyte corpse (picked clean) lies half in a crevice, a steel javelin beneath it.
- Quiet Nest (no creatures visible): they’re out hunting—return on the next noisy event or in 10–20 minutes (1d2 clusters of 3 each).
Darkmantle Notes (quick-use)
- Ambush: They drop as an action; on hit they grapple and blind the target (Crush).
- Darkness Aura (recharge 5–6): 15-ft radius magical darkness centered on each—multiple auras overlap into a near-solid night.
- Tactics: Drop in twos, flee up on fire or loud percussion, re-form to drop again from a new angle.
Troglodyte Relationship
- Wary coexistence. Trogs skirt the threshold and sometimes toss fish to keep the nest sated.
- If trogs are pursued here: They’ll throw oil or grease near the entrance, then shove foes into the ring while the darkmantles drop.
- Parley clue: A surviving trog mutters “Bat-Stone hate fire—make sky-ink run away,” hinting that fire or bright pulses scatter the creatures.
Hooks & Hazards
- Falling into Darkness: If three or more darkmantles deploy darkness, require DEX save DC 12 when moving faster than half speed; on a fail, the mover bumps/ slips 5 ft (toward a stalagmite or down to prone).
- Fungus Graze (if present): A creature ending its turn within 5 ft of Violet Fungus must save as normal (MM the growth clings to the inner wall where lantern light is poorest.
Treasure & Finds
(search 10 minutes, Investigation DC 13)
- Steel Javelin (fine): trog prize lodged under a corpse; worth 5 gp to surface folk, more to trogs.
- Purse under a slab: 21 sp, 9 gp, a topaz chip (10 gp), and a waxed grease vial (one use as grease on the floor).
- Bone Tube: Map scratch of east tunnels with a skull mark at “Roll of the Measure.” location L2-17. Proving Run — Roll of the Measure
- Amber Beetle in Pitch: A tiny charm that grants Advantage once to a save vs. darkness-blinded this dungeon level (then cracks).
Encounter Balance Tips
- For low-level parties (2–3): use 3–4 darkmantles max; let the hum give a warning.
- For mid (3–4): 6 plus fungus makes a nasty set piece.
- Reward fire, pulsed sound, or clever counter-ambush with a morale break: remaining darkmantles retreat upward until quiet returns.

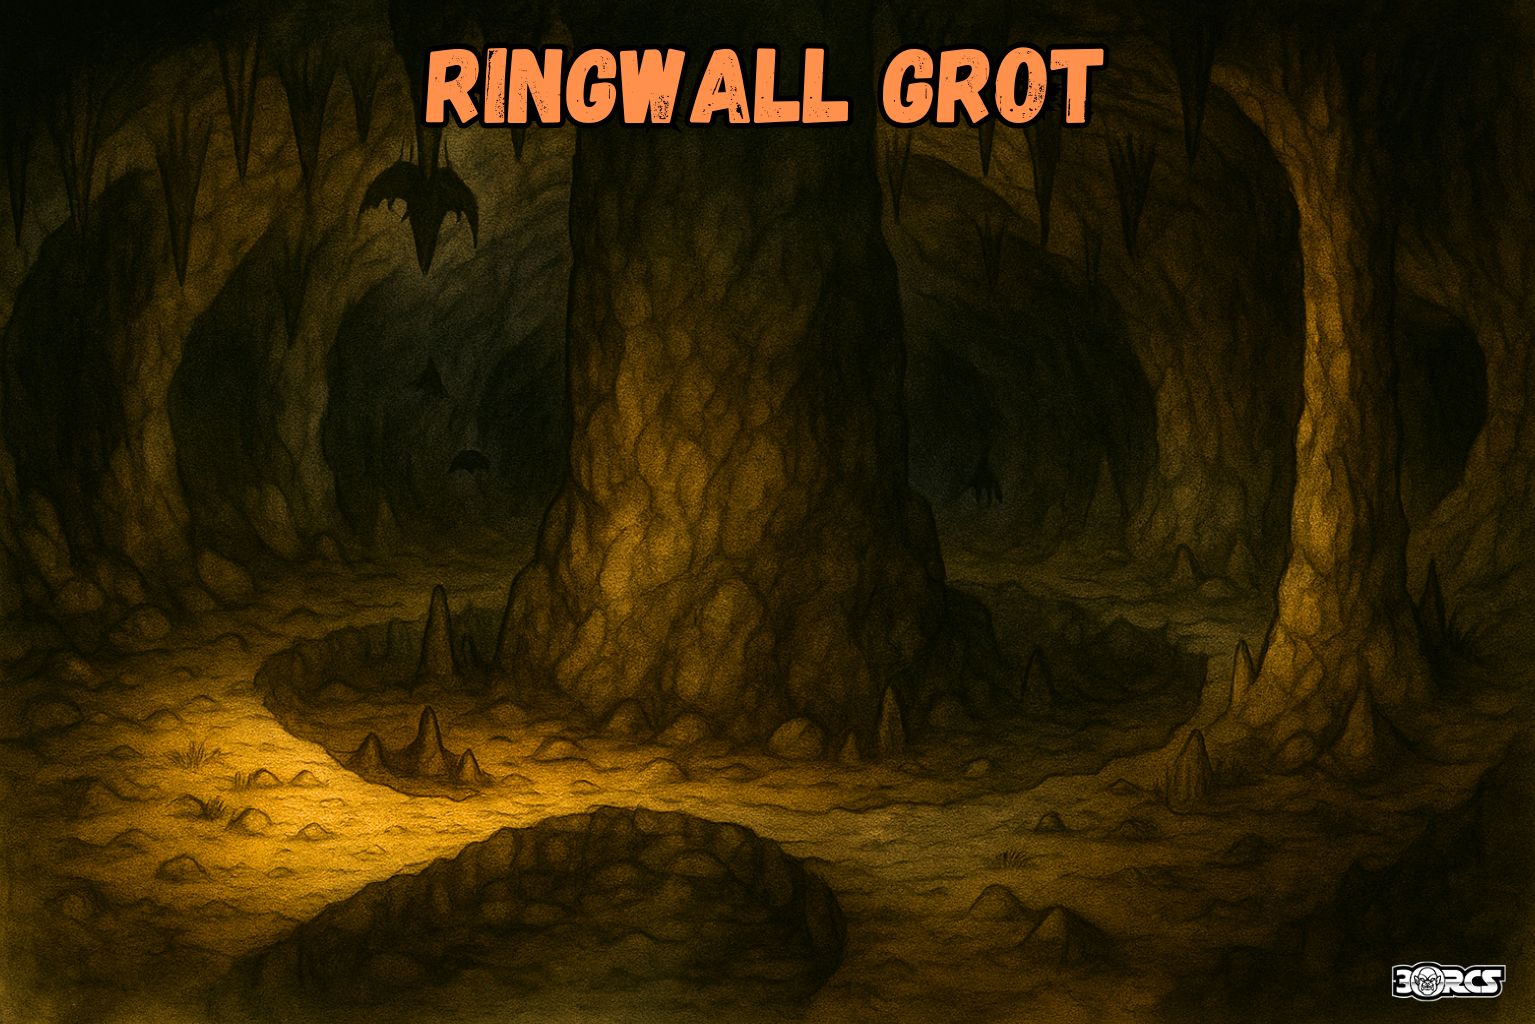
Type: Natural cul-de-sac cavern (monster den)
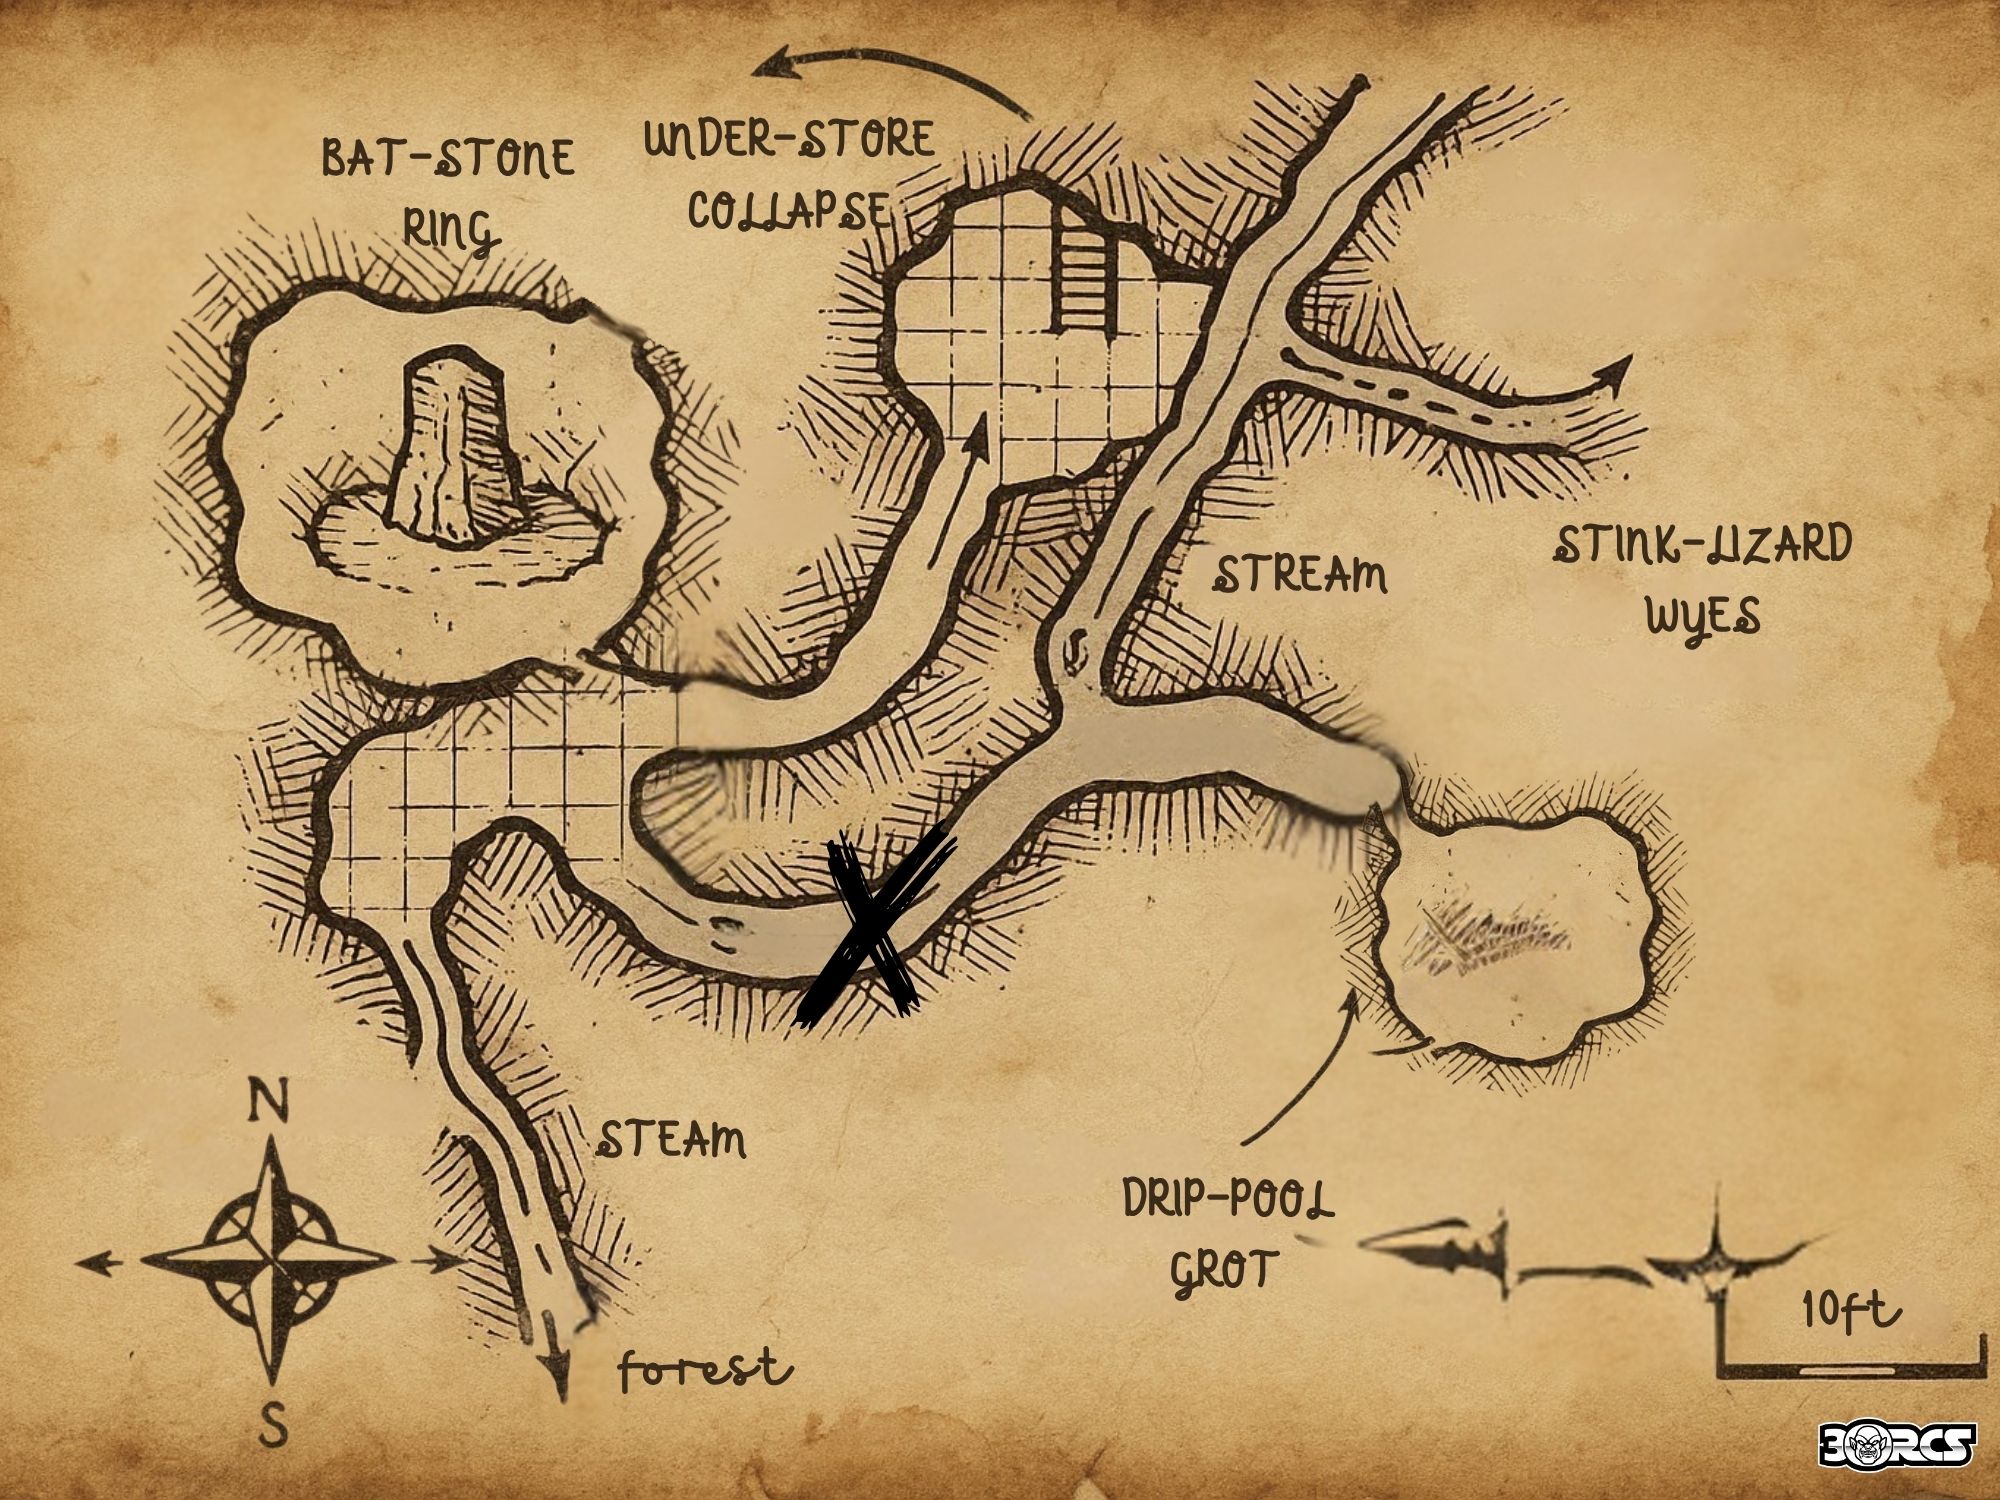
Access: West of L2-24 Humming River Bend, the tunnel swings south with the sound of rocky rapids. At the bend, an opening on the west wall leads into this chamber.
Terrain & Layout
- Ring Walk: A 5–10 ft path circles the central stone core; footing is damp. Areas within 5 ft of stalagmite clusters are difficult terrain.
- Ceiling: 12–16 ft, dense with stalactites (perfect perches).
- Crevices: Two crawl-width slits (Squeeze) open into dead-end pockets—good for hiding, bad for retreat during a darkness fall.
- Acoustics: The hum imposes −1 to Perception (hearing) checks inside the room.
Checks
- Nature or Survival DC 11: Scattered bat-like droppings that smell like squid—darkmantles.
- Perception DC 13 (lantern/bright): One “stalactite” shifts a fraction—something living up there.


Comments