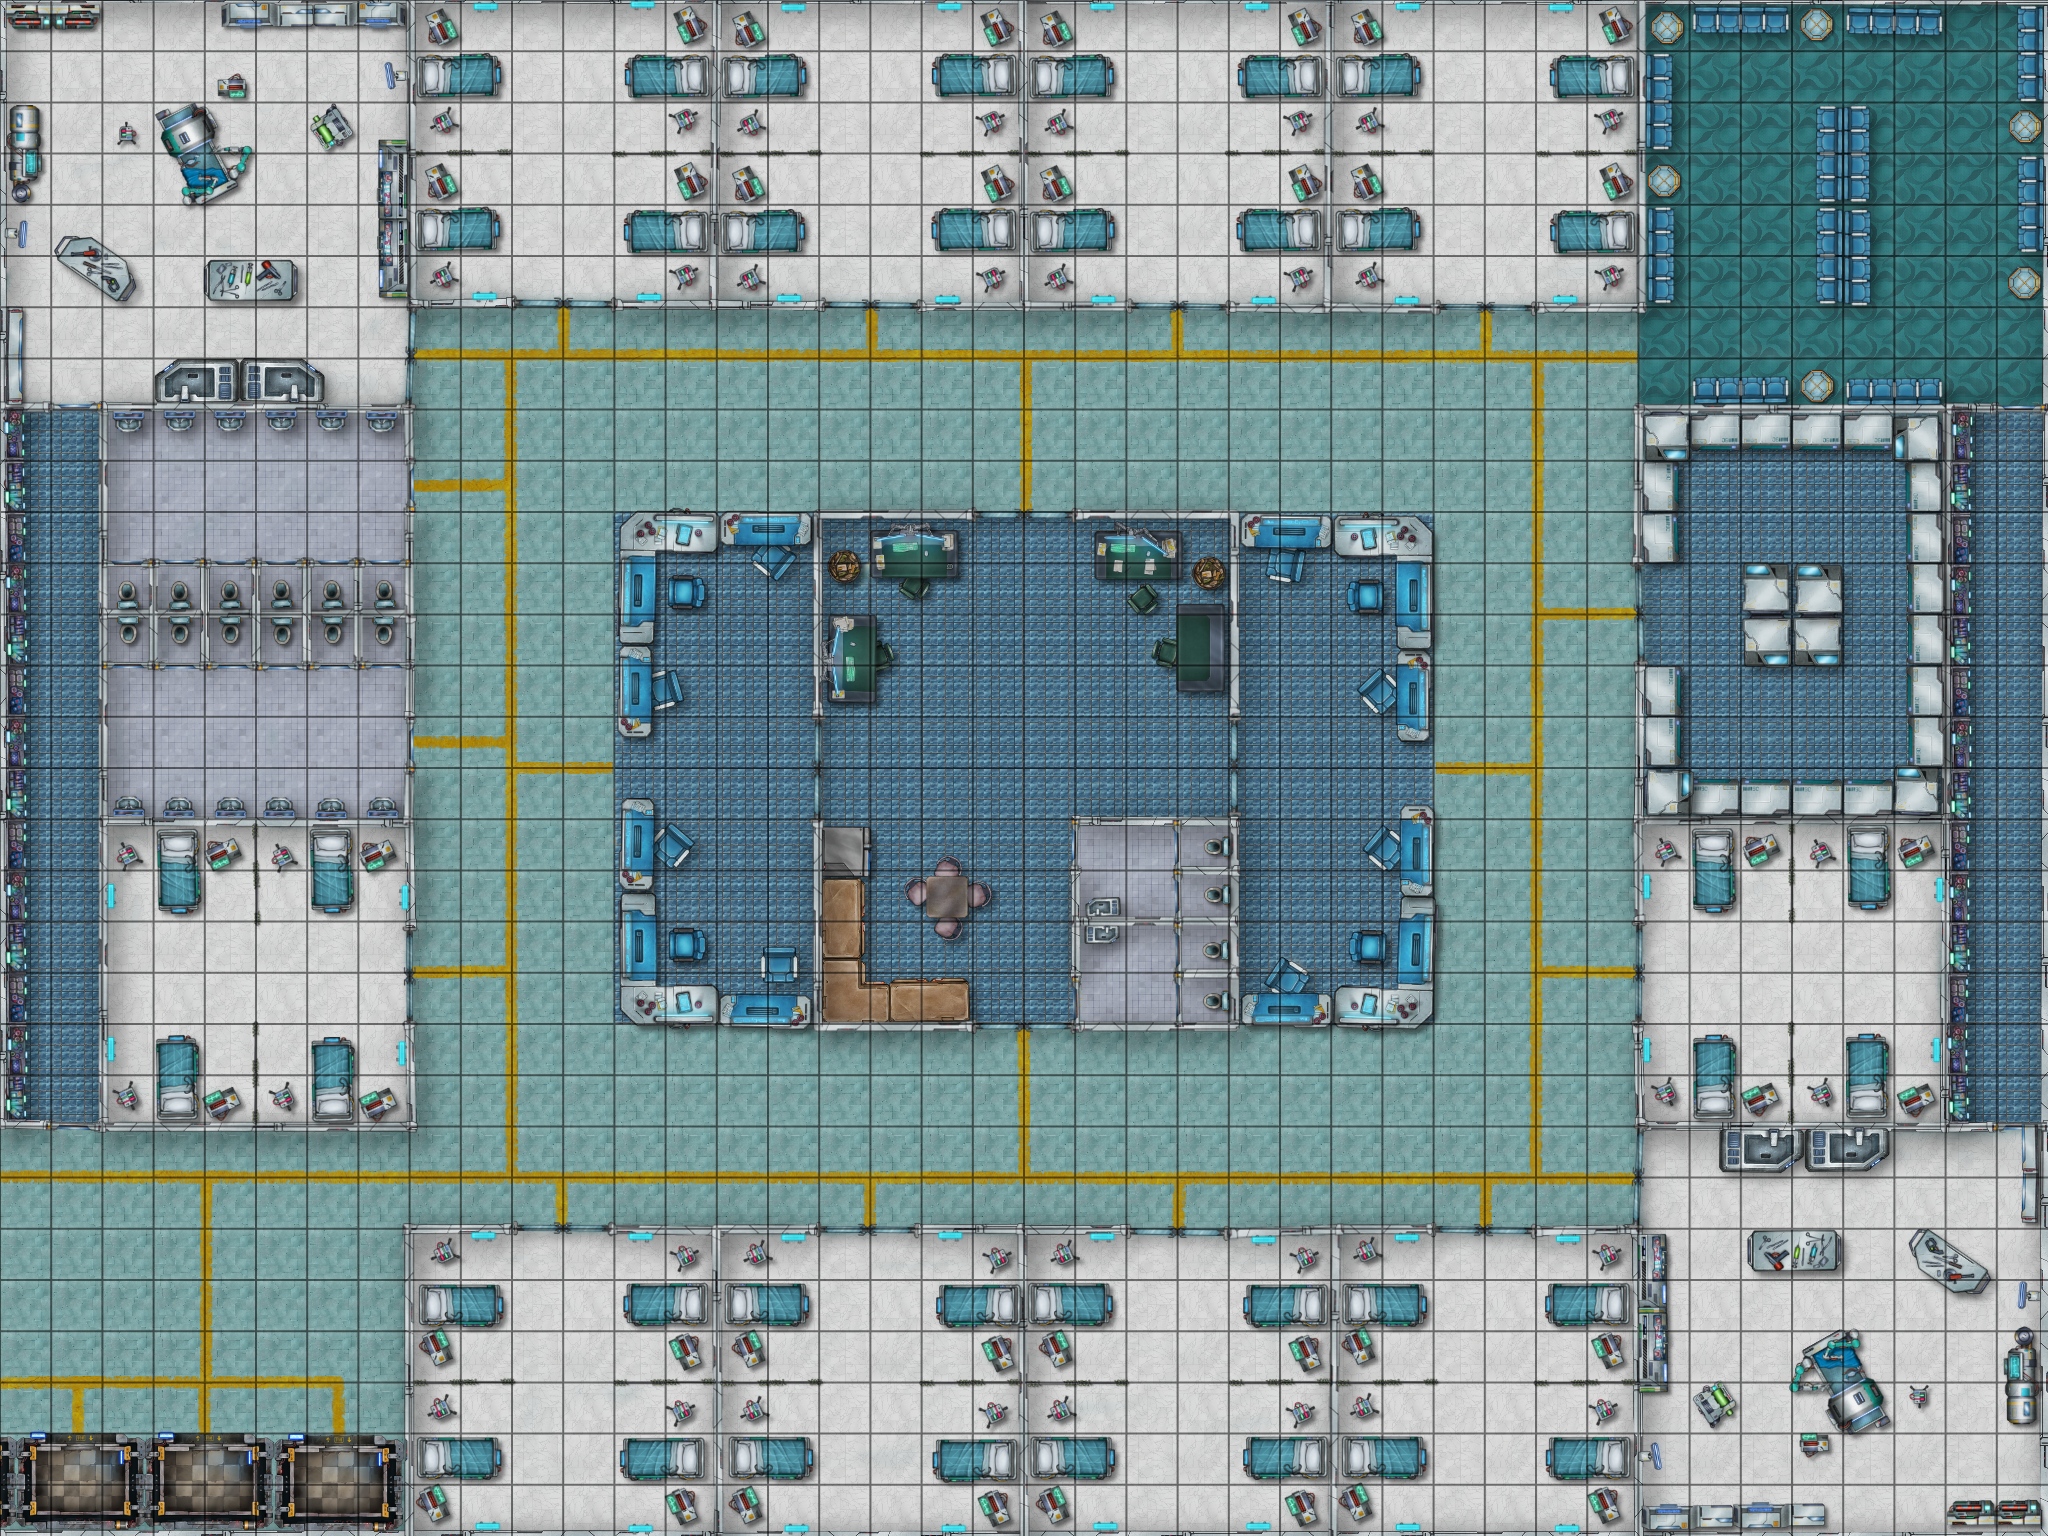
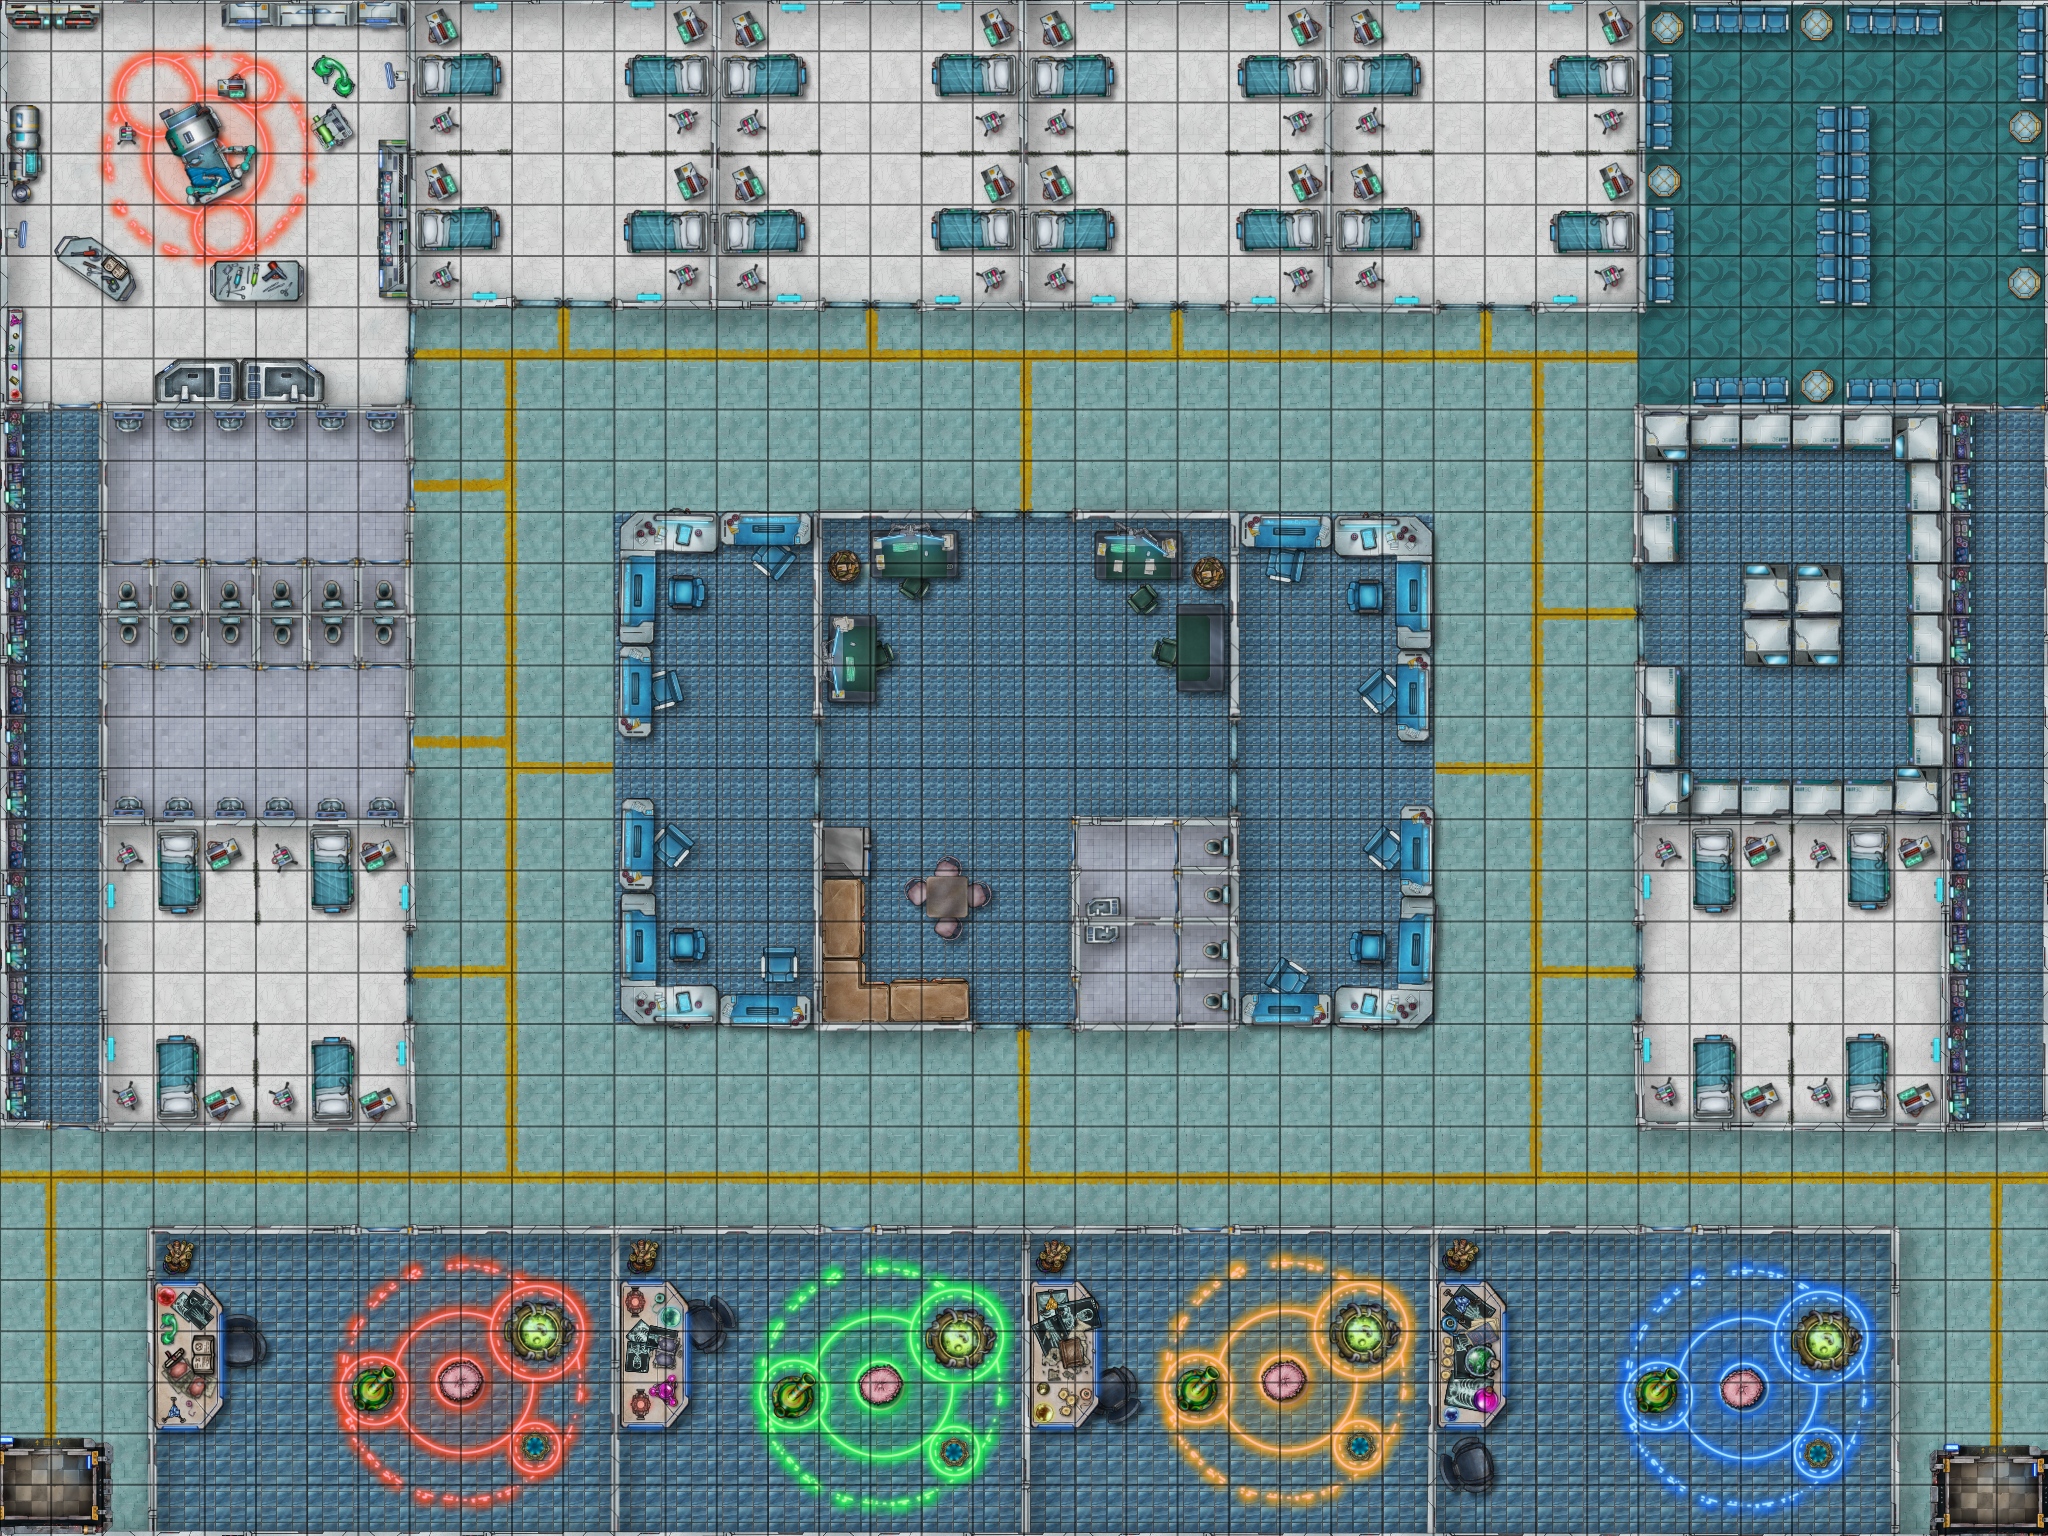
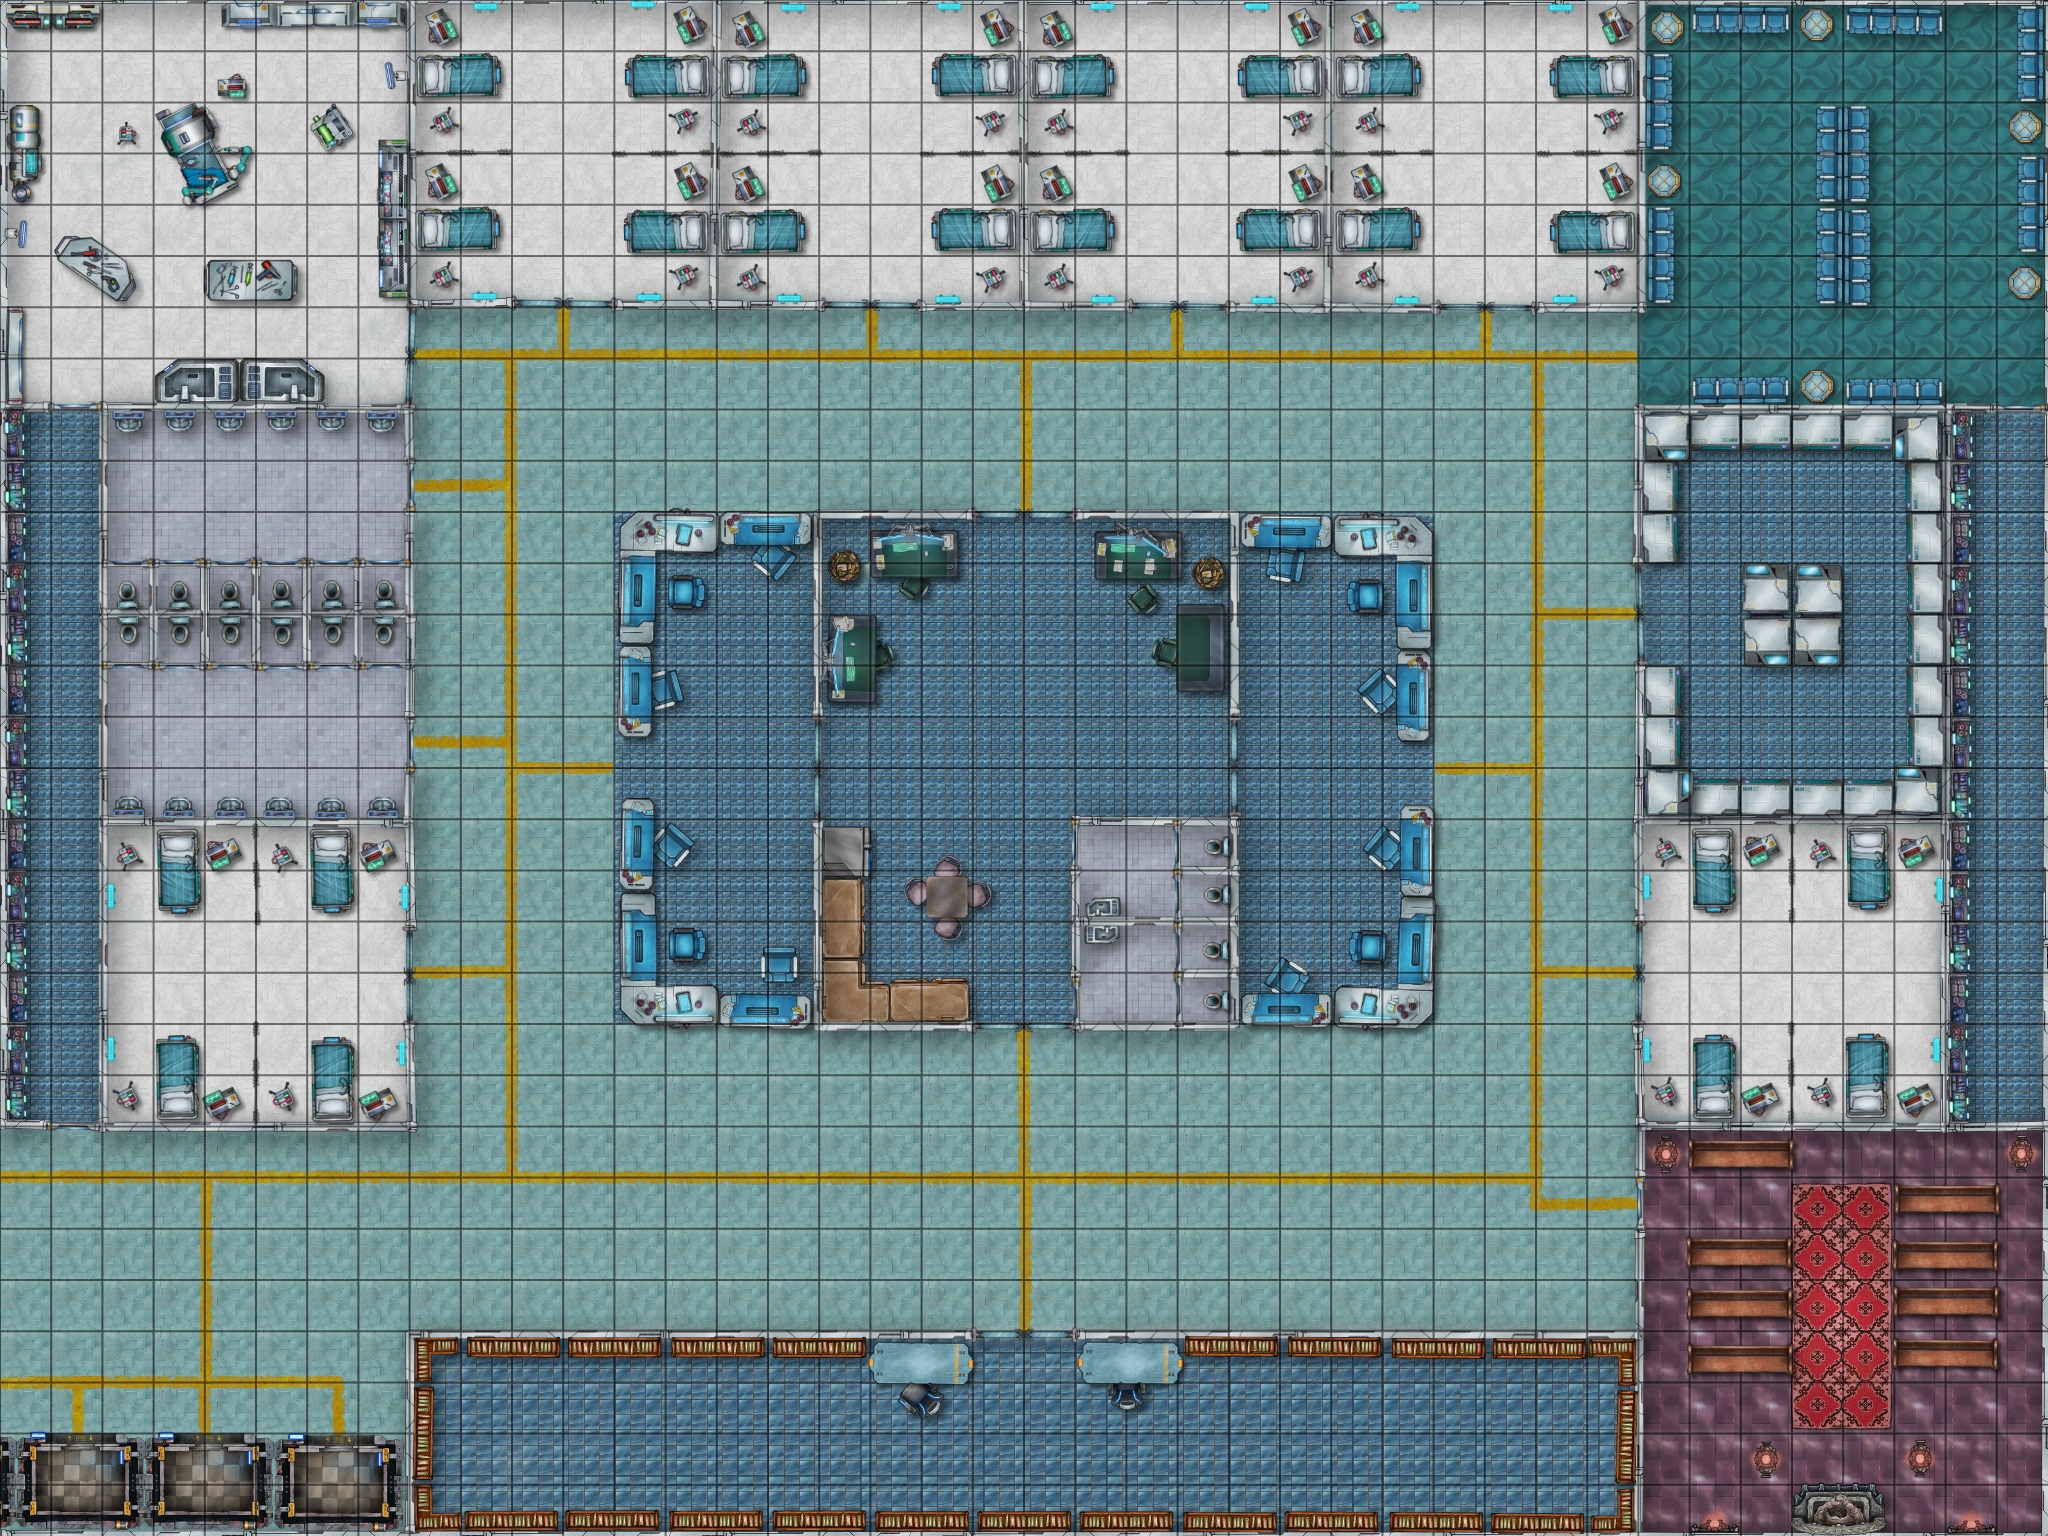
Scavenging The Third Floor
Note: use the following scavenging rules for all the wards on this floor.
- DC 15
- Search Time 2 hours
- Scavenging the floor includes all the areas on this floor except the nested location described below
Scavenging requires an Investigation Skill check, which can be done as an individual or as a group.
If an individual is completing the search, they will roll an investigation Skill Check.
When scavenging as a group, this is resolved as a group test with one PC (typically the one with the best Investigation Skill) making the roll and everyone else assisting with a help action. When you take the Help action, the creature you aid gains advantage on the next ability check it makes to perform the task you are helping with, provided that it makes the check before the start of your next turn.
If anyone else within the group then performs an additional search, the same rules apply counting as an additional search of the area requiring the additional time to be spent to complete the search as well as the additional roll.
If the check is failed, they find nothing. That doesn't prevent searching again, but each new attempt takes the time listed as well as an additional roll.
For every 5 points you have failed by, a complication occurs at the location. See below for the complications.
If this check is successful, then they find the minimum items for this location; each item category found in the location has a minimum and maximum number of rolls on that category's loot table, with a minimum of 0. The minimum number of rolls for each category is provided on a basic success. These numbers are listed above under Loot Tables in the first bullet point list.
For every 5 points they exceed the DC for the Degree, they may make one additional roll on any one loot table for one of the items categories the location contains, up to the maximum for each category.
Complications
Hazard: Ceiling Collapse
A DC 15 Dexterity saving throw is required for creatures in the area beneath the collapsing ceiling (assume the entire party is in the area of effect). On a failed save, a creature takes 2d6 bludgeoning damage; on a successful save, they take half damage.
Aftermath
The area becomes difficult terrain due to the rubble. This is not likely to matter.
Hazard: Mold Effect
They stir up mold in their search. The mold inflicts 1d6 poison damage. Each party member will need to roll a DC 15 Con saving throw. Passing reduces the damage by half. Using a cloth mask while moving through this area will give them advantage when making the saving throw. Using a gas mask will grant immunity from the mold.
Hacking the Computers
There are a bunch of computers here on the third floor, but none of these are connected to power. These computers would provide them information about the types of patients that were being cared for here and the experiments that were being conducted.
Powering the Computers
The first step for the players would be for them to connect the computer to a power source. They would be able to use a battery of any kind to power the computer. It would require a Engineering DC 15 skill check to connect the computer to the battery.
Reverse Polarity
Failure by 5 or more results in reverse polarity being the cause of failure. If this failure occurs, then the following effects occur:
- Permanent component damage: Most electronic components, such as diodes, transistors, and integrated circuits, are sensitive to polarity. Reversing the current causes them to fail or "fry" instantly. The computer is no longer functional.
- Battery damage: Reverse polarity causes a battery to discharge rapidly and can lead to overheating or leakage. This damages the battery and renders it no longer functional.
Computer Fire
Failure of 10 or more will also cause a fire.
- Overheating and fire risk: A reversed current can create a short circuit, causing a large current to flow without resistance. This generates excessive heat, which can damage components and pose a fire hazard. There is a 25% that the failure will also cause a fire.
The computer catches on fire. This fire fills a 5-foot cube. Any creature in the fire’s space when the computer ignites must succeed on a Dexterity saving throw or take 1d8 fire damage. A creature must also make the saving throw when it enters the fire’s space for the first time on a turn or ends its turn there.
Completing the Hack
Once the computers have been connected to power, the party has 1d4 uses of the computer before the device and battery are completely ruined. This means that the party can make 1d4 attempts to hack into the computer to obtain information. To successfully hack into the computer requires a Computer Use DC 15. Success gives them access to the lore items listed below. Failure costs a use. If the computer is ruined, there is nothing to stop the party from attempting with another computer (assuming they have another battery available).
Medical Ward 1
Note: There are 2 Dog Bots* in this area that the party will have to defeat before they will be able to scavenge the area. I've placed these in the upper right hand corner. A fight will trigger if the party makes too much noise or if they come into the line of sight of the Dog Bots.
Note: If the party successfully searches this area, they will find the Aurora Sadowski RN Badge in addition to the items rolled for per the scavenging rules. This badge can be used to open the door to the medication room without a roll.
The corridor opens into a wide, dimly lit space dominated by the shadowed bulk of the central nurse station, its counters strewn with toppled binders and shattered monitors that glint faintly in your light. The tiled floor bears dark stains and long trails of rust where equipment was dragged or abandoned, and the ceiling above sags in places, its panels warped and water-stained. Hallways stretch off to either side, their lengths vanishing into shadow, while faint drafts stir the edges of half-open doors. The silence here is oppressive, broken only by the creak of metal and the distant drip of unseen water.
Nested Location: Medication Room
- Category: Medical
- Level 3
- Scale: Small
- Degree: Untouched
- Loot Tables: Medical 8-12
- Obstacles and Hazards: Locked Door
Obstacle: Locked Door
This is an electronic lock. If the players have found the Aurora Sadowski RN Badge, they can use this to access this area without any rolls. Otherwise, they must bypass the obstacle to gain access to this room. They will need to use a TL4 Engineering Kit with a DC 15 to open the lock. Using a kit of lower level applies disadvantage to the roll.
Breaking Down the Door
An object’s Armor Class is a measure of how difficult it is to deal damage to the object when striking it (because the object has no chance of dodging out of the way). When the player rolls their Strength check, they must meet or exceed the AC to cause damage to the door. If they damage the door, they can then roll their damage based upon the weapon they chose to use. If the player is attempting to push through the door, kick down the door or shoulder it open use an unarmed attack for the a damage which is bludgeoning damage equal to 1 + your Strength modifier. Once they have managed to reduce the door to 0 HP it is considered sufficiently damaged to bypass.
Medical Ward 2
There is a Blight Spitter in this area that the party will have to defeat before they will be able to scavenge the area.
Nested Location: Medication Room
- Category: Medical
- Level 3
- Scale: Small
- Degree: Untouched
- Loot Tables: Medical 8-12
- Obstacles and Hazards: Locked Door
Obstacle: Locked Door
This is an electronic lock. If the players have found the Aurora Sadowski RN Badge, they can use this to access this area without any rolls. Otherwise, they must bypass the obstacle to gain access to this room. They will need to use a TL4 Engineering Kit with a DC 15 to open the lock. Using a kit of lower level applies disadvantage to the roll.
Breaking Down the Door
An object’s Armor Class is a measure of how difficult it is to deal damage to the object when striking it (because the object has no chance of dodging out of the way). When the player rolls their Strength check, they must meet or exceed the AC to cause damage to the door. If they damage the door, they can then roll their damage based upon the weapon they chose to use. If the player is attempting to push through the door, kick down the door or shoulder it open use an unarmed attack for the a damage which is bludgeoning damage equal to 1 + your Strength modifier. Once they have managed to reduce the door to 0 HP it is considered sufficiently damaged to bypass.
Medical Ward 3
There are 2 Evolution Charix in this area that the party will have to defeat before they will be able to scavenge the area.
Nested Location: Medication Room
- Category: Medical
- Level 3
- Scale: Small
- Degree: Untouched
- Loot Tables: Medical 8-12
- Obstacles and Hazards: Locked Door
Obstacle: Locked Door
This is an electronic lock. If the players have found the Aurora Sadowski RN Badge, they can use this to access this area without any rolls. Otherwise, they must bypass the obstacle to gain access to this room. They will need to use a TL4 Engineering Kit with a DC 15 to open the lock. Using a kit of lower level applies disadvantage to the roll.
Breaking Down the Door
An object’s Armor Class is a measure of how difficult it is to deal damage to the object when striking it (because the object has no chance of dodging out of the way). When the player rolls their Strength check, they must meet or exceed the AC to cause damage to the door. If they damage the door, they can then roll their damage based upon the weapon they chose to use. If the player is attempting to push through the door, kick down the door or shoulder it open use an unarmed attack for the a damage which is bludgeoning damage equal to 1 + your Strength modifier. Once they have managed to reduce the door to 0 HP it is considered sufficiently damaged to bypass.


Comments
Author's Notes
Map created using Inkarnate.
*The monsters referenced in these notes are taken from the Ultramodern Bestiary (5E).