33. Old Mayor’s Manor
“Ruins reborn in shadow—no longer a seat of law, but of cunning.”
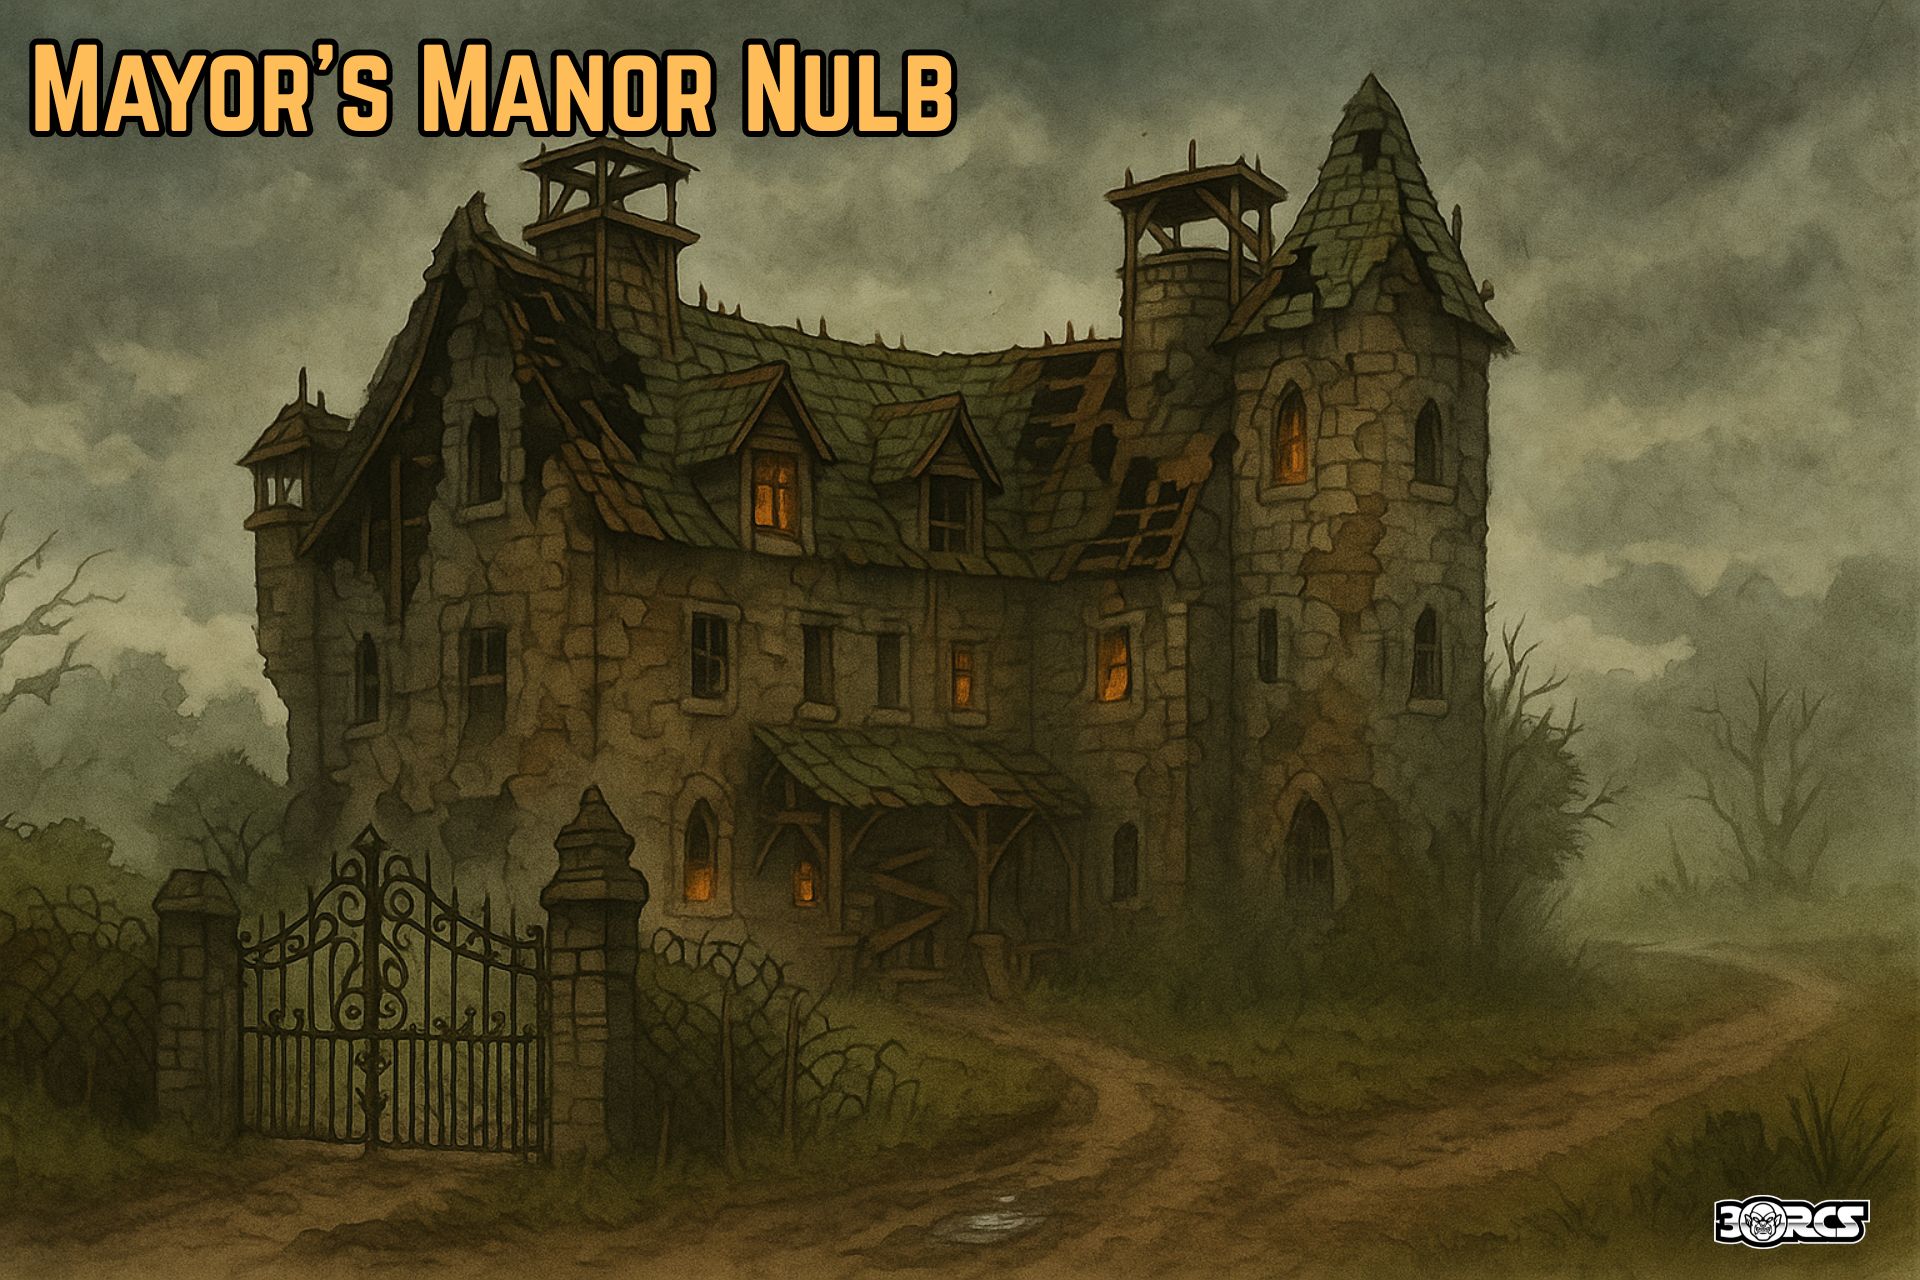
Once the seat of civic authority in the village of Nulb, the Mayor’s Manor stood as a modest stronghold on the southern edge of the village, along the overgrown track that leads directly to the Temple of Elemental Evil, just across the Emeryd’s Run. After the Battle of Emridy Meadows and the burning of Nulb during the righteous counteroffensive, the manor was heavily damaged, its walls cracked by siege spells and its halls scorched by elemental and divine fire.
It stood as a shattered monument—until Hedrack saw use in its bones.
Madame Selentis, once known as Nysera Krivaltis, runs the manor as a hub for coordinating the Temple’s illicit supply chains, espionage, and prisoner logistics under the direct oversight of Commander Feldrin and the Supreme Commander Hedrack himself.
Historical Context
- Battle Damage: During the liberation of Nulb, the manor was the site of intense street fighting. Portions were destroyed in magical crossfire. At least one upper turret collapsed under the force of a summoned elemental. Much of the second floor was gutted.
- Temple Reoccupation: As the Greater Temple slowly recovered, Hedrack chose this ruined estate to be a supply node, hiding arms, goods, and operatives beneath the banner of local banditry.
- Current Occupation: Hedrack assigned Smigmal Redhand’s bandits to control the estate, and later placed Madame Selentis here to act as his proxy, administrator, and overseer of the Temple’s covert interests in Nulb.
Exterior Features (Current Condition)
Walls and Architecture
- Once pristine slate-gray stone walls, now patched with salvaged lumber, ship iron, and debris from Nulb itself.
- Collapsing west wing: 25% of the upper floor is still exposed to the elements; planks and canvas offer crude shelter.
Perimeter Defenses
- Tall iron gate: Partially melted during the battle, now reforged with scavenged steel and adorned with shackled skull motifs.
- Overgrown hedgerow: Interwoven with barbed wire and broken glass, it creates a jagged green wall of concealment.
- Lookout perches: Makeshift wooden watchposts built into broken chimneys and roof nooks, manned by bandit archers.
Stable Ruins
- Rebuilt into a bandit armory, storing crossbows, bolts, temple smuggling crates, and two chained dire hounds.
Interior Layout
Grand Foyer (Main Floor)
- Entryway with a collapsed chandelier, now replaced with hanging lanterns made from copper and river glass.
- Twin staircases remain, though the western ascent is broken. The eastern stair leads to what remains of the upper floor.
- The library shelves still line the walls—now containing maps, coded orders, trade manifests, and burned noble tomes from Verbobonc.
Command Room
- Once a council chamber, now Madame Selentis’s logistics center.
- Walls covered in maps of the region, smuggler routes, pirate faction charts, and coded messages from Lucius.
- A long table holds temple correspondence, ledgers for slaver shipments, and bounty lists for Nulb’s troublemakers.
Grand Hall
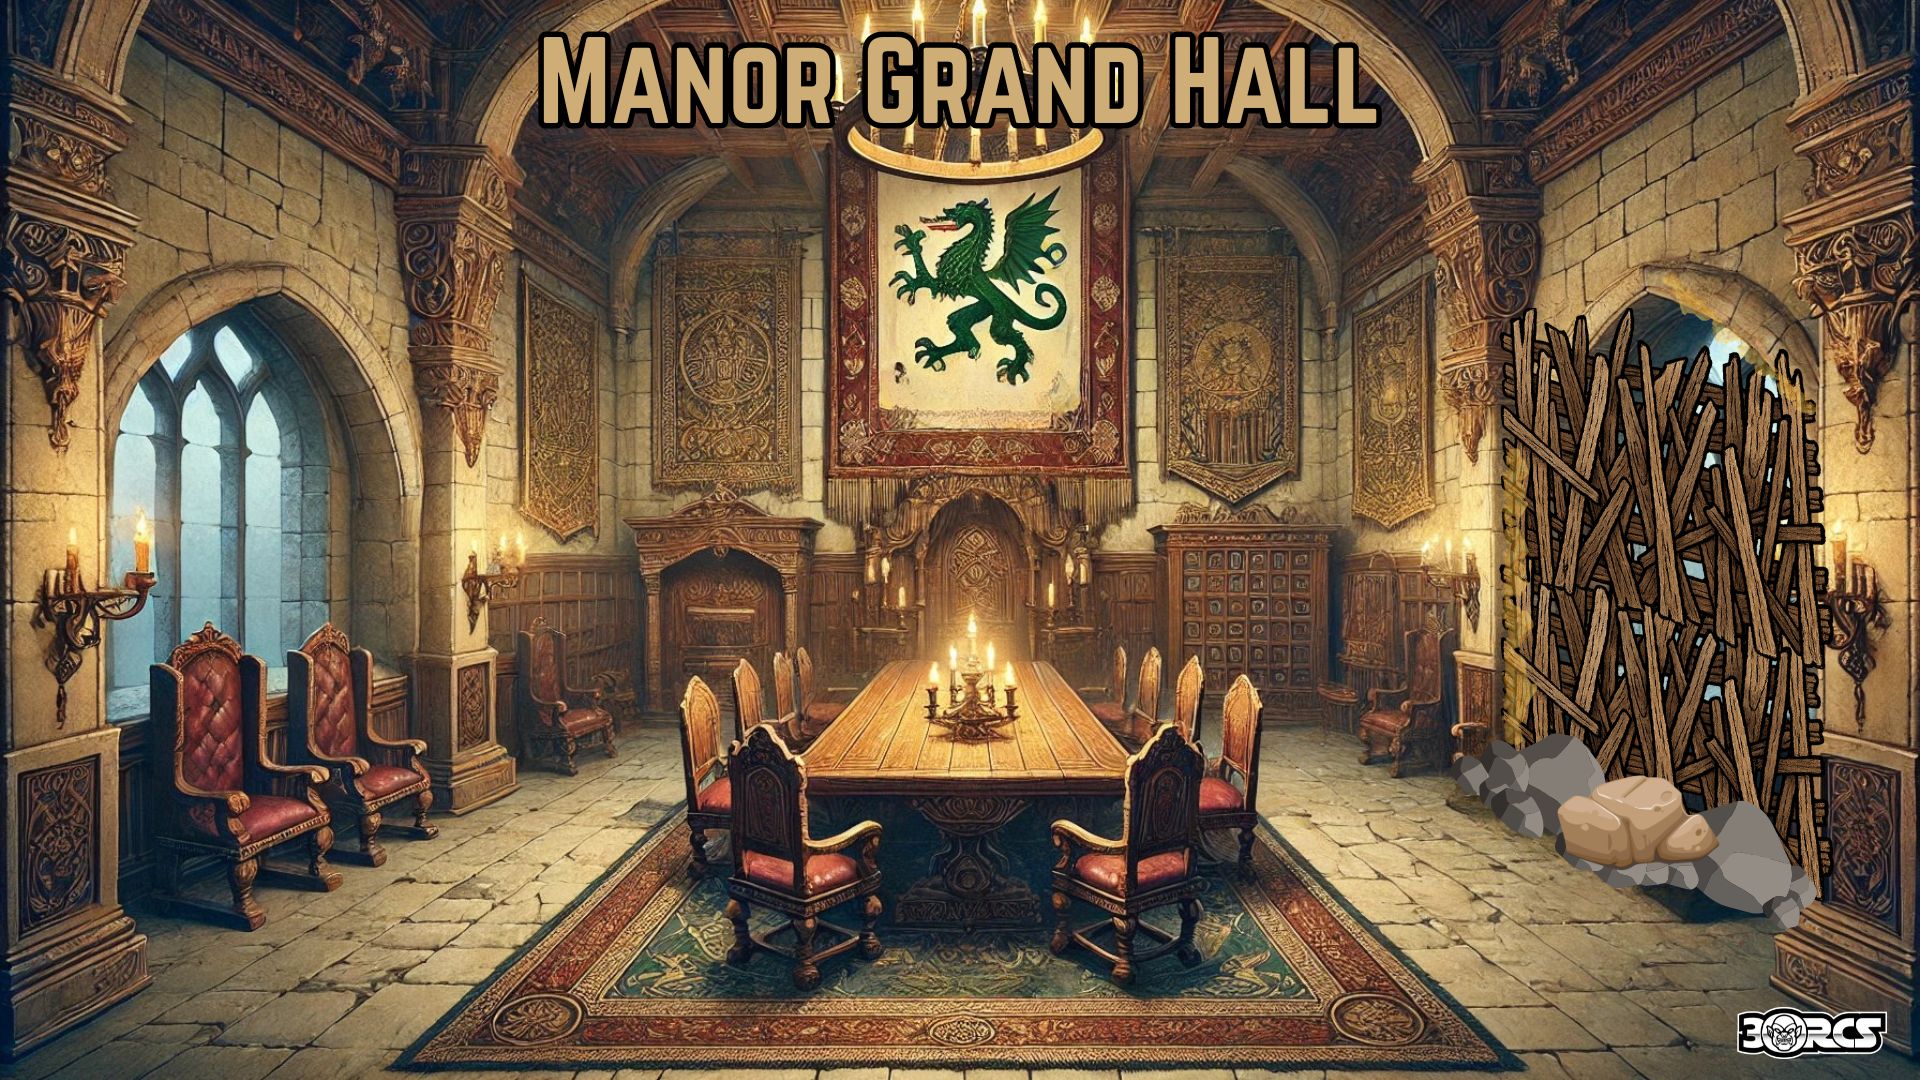
- Once the mayor’s ballroom, now a war room and feasting den for the bandits.
- Curtains of red-and-black canvas obscure broken windows. Tables bear crude carved runes representing the four cults.
- At one end sits Madame Selentis’s throne—a salvaged high-backed chair draped in dark velvet, a reminder of her noble past.
Upper Floor (Partial Ruin)
Madame Selentis’s Private Quarters
- Rebuilt from remaining intact rooms on the eastern wing.
- Walls hung with faded Krivaltis heraldry, half-burned portraits, and ritual cloths gifted by Lucius.
- A silver mirror, cracked down the middle, stands beside her four-poster bed.
- Contains:
- Her personal journal (coded),
- A secret compartment with poison vials and Temple artifacts,
- A sealed letter from Hedrack, confirming her appointment and protection.
Private Study
- Lit by magical driftglobes. Contains:
- Books on elemental rites, military history, and infernal contracts.
- A mirror of scrying (limited use) used to communicate with Lucius.
- Small shrine to her future: an empty pedestal and the inscription, “To What Was Taken.”
Basement Level
Barracks and Bandit Quarters
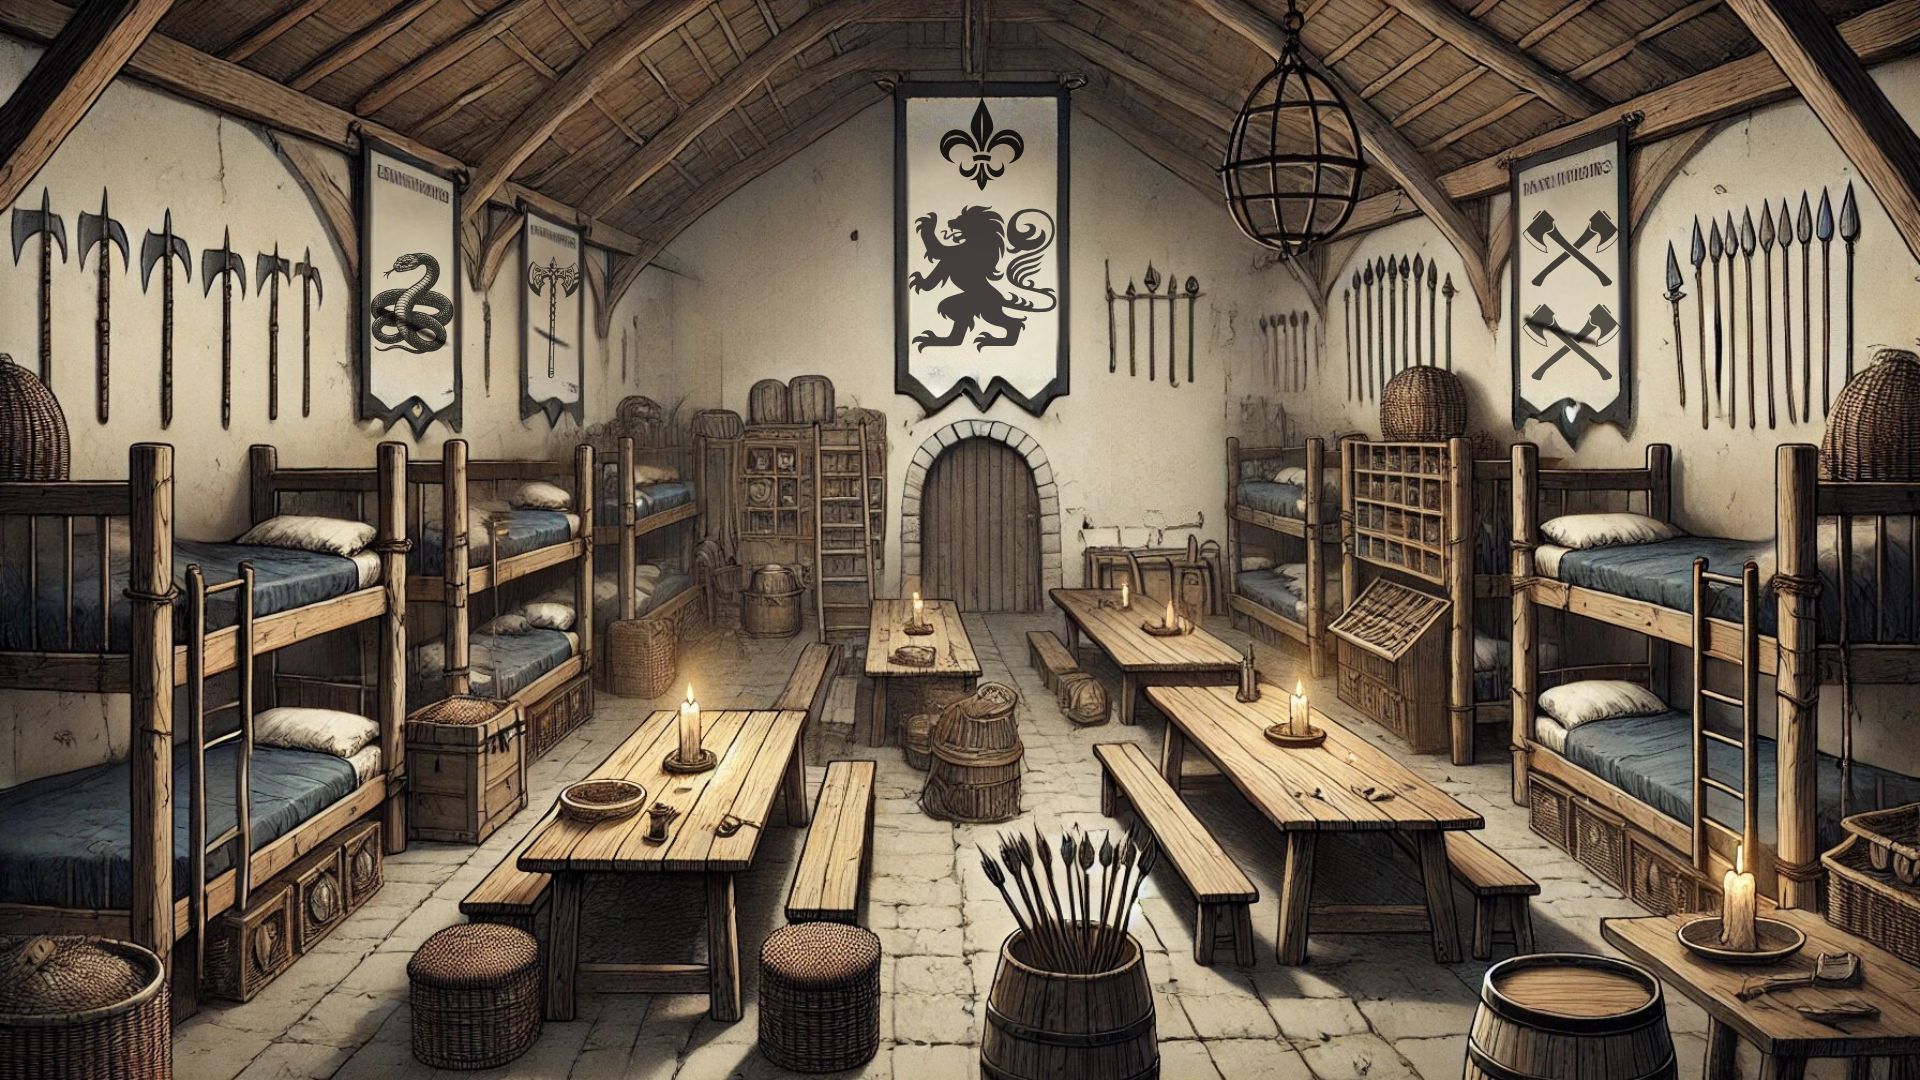
- Stone-floored chambers outfitted with bunks, weapon racks, and an underground cistern for water collection.
- The bandits sleep, gamble, and receive orders here. A rotating guard maintains watch at all hours.
Storage & Smuggling Cellars
- Hidden compartments store:
- Slaver chains and manifests from Marad Vesrek,
- Weapon caches from Tolub’s ship,
- Boxes labeled “dried goods” concealing Temple scrolls, uncut gemstones, and vials of alchemical fire.
Security Features
- Traps: Pressure plates at key entryways, hunting snares repurposed for intruders.
- Rotating Watch Schedule: Overseen by Krael Vortash, the bandit captain placed by Smigmal.
- Gnarl Hounds: 2 chained hounds keep the stable.
- Rats and Spies: Local children, thieves, and whores are paid to act as informants. One of them lives within the manor as a page.
Logistics and Supply Chain Operations
The Old Mayor's Manor is now fully integrated within the covert logistics of the Temple of Elemental Evil:
- Receiving Operations:
- Madame Selentis’s men receive prisoners and contraband from two primary locations:
- Boatman's Tavern & Wharf: Operated by Captain Tolub’s pirate crew, shipments of slaves, smuggled goods, weapons, and stolen artifacts arrive from the Velverdyva River and local pirate raids.
- Wainwright Depot: Operated by Ivar Maddok, the depot provides loot, slaves, and essential supplies from bandit raids orchestrated by bandit leaders such as Gattas Void. Wagons routinely transfer cargo across Emridy’s Run bridge under guard by Selentis’s trusted brigands.
- Processing & Transit:
- All cargo and prisoners arriving at the Old Mayor’s Manor are inventoried, sorted, and temporarily stored in hidden cellars and converted stable armories.
- Madame Selentis’s bandits oversee the final transfer of prisoners and supplies from the manor to the Hunting Cottage and Barn managed by Gefreid Patris, where shipments enter the secret tunnel connecting directly to the Temple’s subterranean levels.
Guard Animals and Magical Defenses
Madame Selentis, being a capable wizard herself, has strengthened manor security using magically controlled beasts and summoned creatures. Recommendations for suitable guard creatures under her command include:
- Dire Wolves:
- Vicious, loyal, and intimidating. Ideal for patrolling grounds and tracking intruders. Madame Selentis magically dominates them through enchantments or collars inscribed with controlling runes.
- Stirges (magically controlled):
- Aerial reconnaissance and harassment. They nest in the manor’s damaged towers and swoop down upon intruders at Madame Selentis’s mental command.
Narrative Role in the Campaign
Faction HQ
- Serves as the nerve center of Temple coordination in Nulb—every shipment, bribe, and assassination passes through here in some form.
PC Encounter Possibilities
- Infiltration mission to steal documents or rescue a hostage.
- Final confrontation with Madame Selentis during an unraveling of Temple influence.
- Social encounter—invited to parley in the Grand Hall, under crossbow threat.

Scene: First Step into the Manor Grounds
Location: Overgrown hedgerow near the iron gate of the ruined manor, dusk. Fog creeps low across the mud-slick path, and crooked lanterns swing on rusted hooks. Distant torches flicker behind shattered glass windows.
Then you hear it. A rustle of steel. A wet boot scraping stone. The snort of a restless warhound.
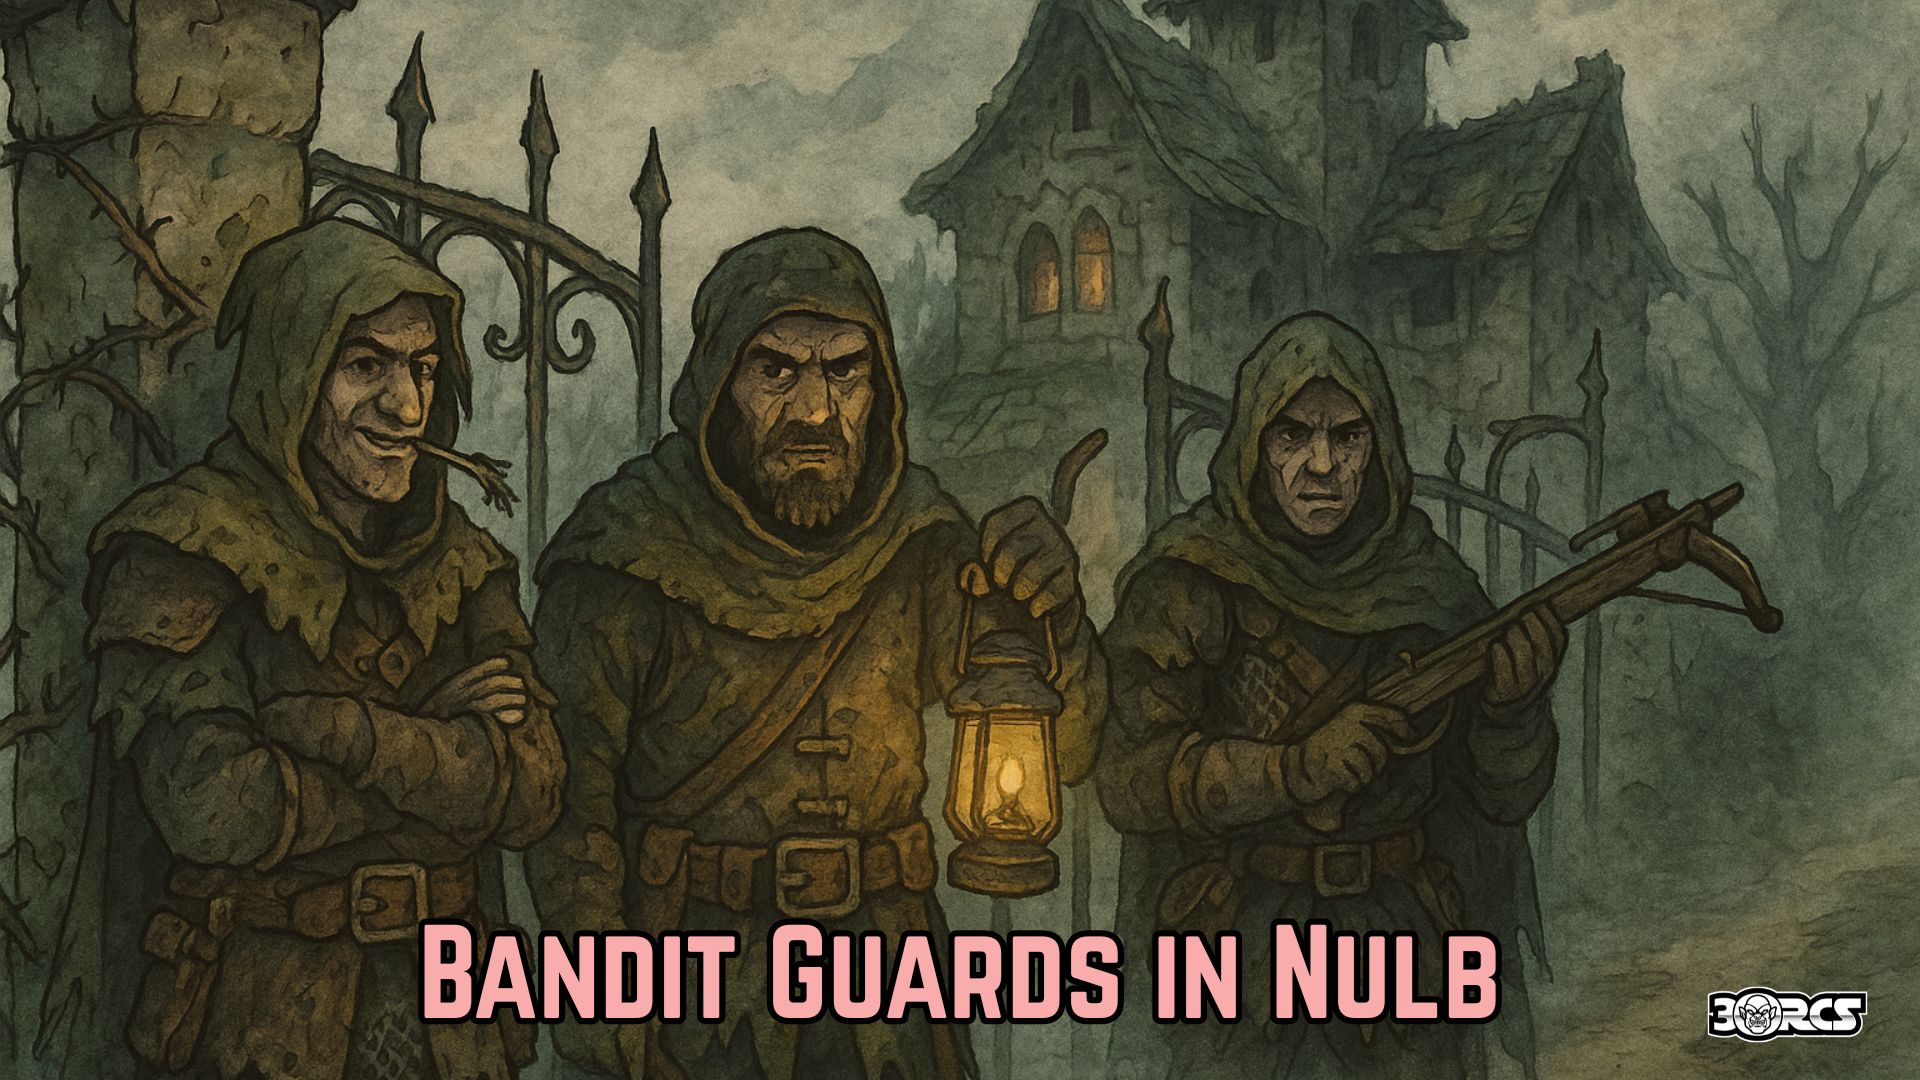
From the ruined side of the stable, three figures step into view—shadows with crossbows and patchwork armor. One leans against the gatepost, his teeth gnawing a sliver of bark like a toothpick. Another holds a lantern up toward your faces.
Bandit Dialogue:
The lead thug—scarred, lean, and sharp-eyed—spits in the dirt and speaks with an oily drawl.
He eyes your weapons, then nods to the second man, who levels a crossbow with casual, lethal ease. “This here’s Madame Selentis’s property. No pilgrims. No merchants. No gawkers. So... unless you're here to pay tribute, sell arms, or bleed, I'd start explaining real quick.”
A third bandit circles behind, boots crunching gravel, trying to flank without drawing too much attention.
Insight Check (DC 13):
- Success reveals: They're suspicious, but under orders not to kill unless provoked or threatened. They're testing the party's reactions—nervous, cocky, or useful?
If the PCs Bluff or Talk:
If convinced (DC 15 Persuasion/Deception), they offer to escort the party under supervision: They remove all visible weapons (or pretend to), One bandit goes ahead to “alert the manor.”
If the PCs Threaten or Attack:
The lead bandit whistles sharply, triggering:
- Two archers from above (rooftop)
- A dire hound from the stable
- 1d4+1 additional bandits from the barracks arrive in 2 rounds.


DM Notes: Traps within the Old Mayor’s Manor of Nulb
1. Pressure Plate Spear Trap (Interior Entry Hall)
Location: Beneath the loose stone slab just past the manor’s front doors.
Mechanism: A concealed plate activates when more than 25 lbs. of pressure is applied. Hidden side wall panels flip open, launching rusted-but-lethal spears horizontally.
- Detection: DC 15 Investigation or DC 18 Perception
- Disarm: DC 15 Thieves' Tools check
- Trigger Effect:
- All creatures within a 10 ft. hallway section must make a DC 14 Dexterity saving throw.
- On a failed save: 2d10 piercing damage.
- On a success: Half damage (1d10) as they dodge aside.
- Tactics: Krael often lures invaders inside, then triggers the trap by throwing weight onto the plate from a safe angle using a chain or body.
“Another step, friend—and your armor’ll rattle with holes.”
2. Repurposed Hunting Snares (Perimeter Grounds)
Location: Camouflaged in hedgerow gaps, stable paths, and cellar escape routes. Made from thick swamp rope, anchored to beams or tree roots.
Function: These snares hoist intruders off the ground or immobilize them in choking loops.
- Detection: DC 14 Survival or DC 15 Perception
- Disarm: DC 12 Sleight of Hand or Thieves' Tools
- Trigger Effect:
- Make a DC 13 Dexterity saving throw.
- Failure: The character is restrained and hoisted 3 ft. off the ground or pinned in place.
- Escape: DC 15 Strength check to break free or cut rope.
- Complication: Some snares are raked with broken glass or alchemical fire dust, inflicting 1d6 slashing or fire damage on failed saves.
“They say one man lost his tongue to that snare—'cause it caught him by the jaw.”
Tactical Notes for Use in Encounters
- Madame Selentis never disarms these herself—she relies on Krael’s bandits to manage them.
- Bandits use the traps as choke points, herding enemies toward them during pursuit.
- In stealth missions, these traps create natural pacing obstacles for infiltration scenes, allowing PCs to choose:
- Slow, cautious investigation.
- Risky rushing with possible capture or injury.
DM Notes: Rotating Watch Schedule – Krael Vortash’s Security Plan
Krael Vortash is a paranoid and competent field leader. He knows the manor is surrounded by enemies—Temple rivals, smugglers with ambition, and agents of Verbobonc. Under Smigmal’s orders, he enforces a disciplined 3-shift watch rotation among the bandits occupying the manor. This ensures constant coverage while keeping the men alert, armed, and—most importantly—loyal.
Shift Breakdown
Each day is broken into three 8-hour shifts, with 6 to 10 bandits active at all times. The manor typically houses between 18–24 total brigands at full capacity.
Shift 1: Dawn to Midday (6 AM–2 PM)
- Assigned Areas:
- Front gate patrol
- Stable yard and back perimeter
- Kitchen firewood duty and scavenging runs
- Special Note: This shift is intentionally under-strength. Krael uses it as a test for newer or less-trusted recruits.
DM Tip: PCs sneaking in during this time may face fewer eyes—but may alert insecure guards eager to prove themselves.
Shift 2: Midday to Dusk (2 PM–10 PM)
- Assigned Areas:
- Inner hall guard rotations
- Lookout posts (2 rooftop, 1 rear perch)
- Supply room monitoring
- Special Note: This is Krael’s personal favorite shift—he often makes rounds in person. Discipline is high. This is when Madame Selentis is most active in her quarters or study.
DM Tip: A PC disguised as a messenger or delivery hand could get in—but must pass scrutiny from hardened veterans.
Shift 3: Dusk to Dawn (10 PM–6 AM)
- Assigned Areas:
- Night watch in foyer and command room
- Lantern patrols through the courtyard and basement
- Roaming patrols between manor and river trail
- Special Note: The night shift includes 1–2 trusted assassins or scouts from Smigmal’s core. They operate in pairs and are known to execute sleeping bandits caught off-post.
DM Tip: If PCs arrive by night, patrol routes (and darkvision) matter. Failure to remain stealthy during this shift often results in alarms being raised.
Krael’s Oversight Style
- Random Inspections: Krael wanders at unpredictable intervals, sometimes during off-shifts, testing discipline or laying false ambushes.
- Punishment: Lashes or forced perimeter shifts. One rumor speaks of a man buried up to his neck for falling asleep.
- Incentives: Those who catch spies or smugglers earn extra shares of Madame Selentis’s “shadow fund.”


Comments