Session Twelve
General Summary
Tarana
We pick up our adventure in the City of Trees, Tarana, where the party enjoys a couple days of downtime.- Cheyanne and Lucor are successful in moving runes from the bows found in Peren Mooonweaver's workshop to Vaurvan's sword, granting him a +1 to hit and the anchoring rune.
- Blackfin meditates and returns with the realization that the Nightscream he's searching for may not be an entity, but the name of a group. Cheyanne is able to successfully recall a rumor about a sky pirate airship by that name, and that they have something to do with Readmuse Range. Vaurvan shares that mountain peaks are a good place to hide an airship... if you can withstand the buffeting winds.
- Cheyanne gets a sending from Rhoda, and sends a couple other sendings to friends in Z'Veena.
- Vaurvan borrows the ring of spell storing to cast sending to Aella, but gets only an odd droning sound in return.
"Your task is primarily to locate the Vault of Shadows, secondly, explore it, if possible, and thirdly, bring us any and all relics, artifacts, scrolls, etc. that you find, and promptly return to Tarana. We request you leave any mortal remains as they lie, and document their appearance and location for us. It is assumed that you are wise explorers, and will not cause damage to anything you may find, beyond what may be necessary for your own survival and safe return. Use what you must to overcome the Vault's obstacles, but if you must choose between evacuating relics or keeping your life, it is expected that you will leave the relics within the Vault and return to Tarana posthaste.
"All artifacts, documents, and items recovered from the expedition must first be brought to the Council of Matrons for evaluation. We will then determine which, if any, may travel to the Trill Society for analysis and study, or perhaps be left in your possession as additional reward.. The Vault lies within the Everwood, and thus, this Council has the primary responsibility to ensure the safety and peace of this region and all that lies within it.
"We require a verbal report immediately upon your return from this expedition. We will await a written report from the Trill Society. We do not have a timeline that you must adhere to, however we will know if you leave the Everwood without returning to us first.
"One final non-negotiable. If you are successful in opening the Vault, you must ensure to close it again when you leave. It has been locked for Ages for a reason, and regardless of the portents telling us it is time for it to open, we do not know what it contains, and must err on the side of caution."
The Matrons provided the following items to aid the party on their journey:
- 3 bottles of Tincture of the Moonlit Blossom. This potion is steeped using a blossom that grows only in the moonlight, deep in the Everwood's groves. Properties: When you drink this potion, you gain the effect of greater restoration.
- Each character receives a Whisperleaf Medallion. A medallion fashioned from a single preserved leaf, its veins outlined in silver and faintly glowing. Properties: While wearing this medallion, the user can sense the presence of nearby danger. It grants a +2 bonus to the wearer's passive Perception and allows the wearer to cast Detect Magic once per short rest. Additionally, when within an area saturated with shadow energy, the medallion subtly vibrates as a warning. These are to be returned to the Council upon the party's return.
- Threads of Resilience. A silken spool of silver thread, seemingly endless but fragile to the touch. Properties: Once per long rest, the party can use the threads to create a temporary barrier in a 20-foot radius that lasts for 1 minute. While within the barrier, creatures gain advantage on Wisdom saving throws and resistance to necrotic damage. The threads cannot be moved once deployed and are consumed after use.
- One Obsidian Key. A jagged key created from one piece of obsidian stone, carved with an arcane sigil (divination). This is the only known artifact tied directly to the Vault of Shadows. An intrepid explorer got so far as to the first lock, but experienced indescribable horror. He then took one key to the Council for safe keeping.
- Obsidian Hymn Tablet. A stone tablet with an ancient hymn, handed down throughout generations of Taranan elders.
Tablet of the Obsidian Hymn In twilight’s grasp, the shadows wake, The first to reach, their hands do take. Bowed low in penance, the path is clear, A gift of secrets, whispered near. Supplicant hands, the darkness seek, The watchful silent, no words to speak. A prayer is offered, sorrow’s tune, The mourner’s cry beneath the moon. The veil conceals, a quiet plea, Exalt the night, where none may see. The shield protects, the silent vow, In meditation, we endow. The herald calls, in shadowed tone, And radiant glory claims the throne.One day of downtime spent as the party awaits the arrival of Blackfin's scribe, and our heroes take notice of a rising level of excitiment throughout Tarana. It turns out the renowned performer Melody Locke and her Symphonia Borealis are due to arrive in a few days as part of her continental tour, and the city is bubbling with preparations.
Adrian "Ace" Atterton, the scribe for Blackfin's field crew, arrives to Tarana in the wee hours of the morning of Yagi (6) of Bird Moon (9). He will act as scribe for this expedition, and will also take any downtime to share his process with Cheyanne. The Council of Matrons conducts a "Divius Departurum", a blessing ritual, marking each character with a sigil upon their foreheads, blessing them and warding them against the known dangers of the Everwood. Their mushroom hopper, named Aadi, as they now learn, will take them as far as xe can. This, combined with the protective sigils, should allow the party to get to the Vault of Shadows with minimal distractions, and allow them to keep their focus upon their purpose.
The Everwood
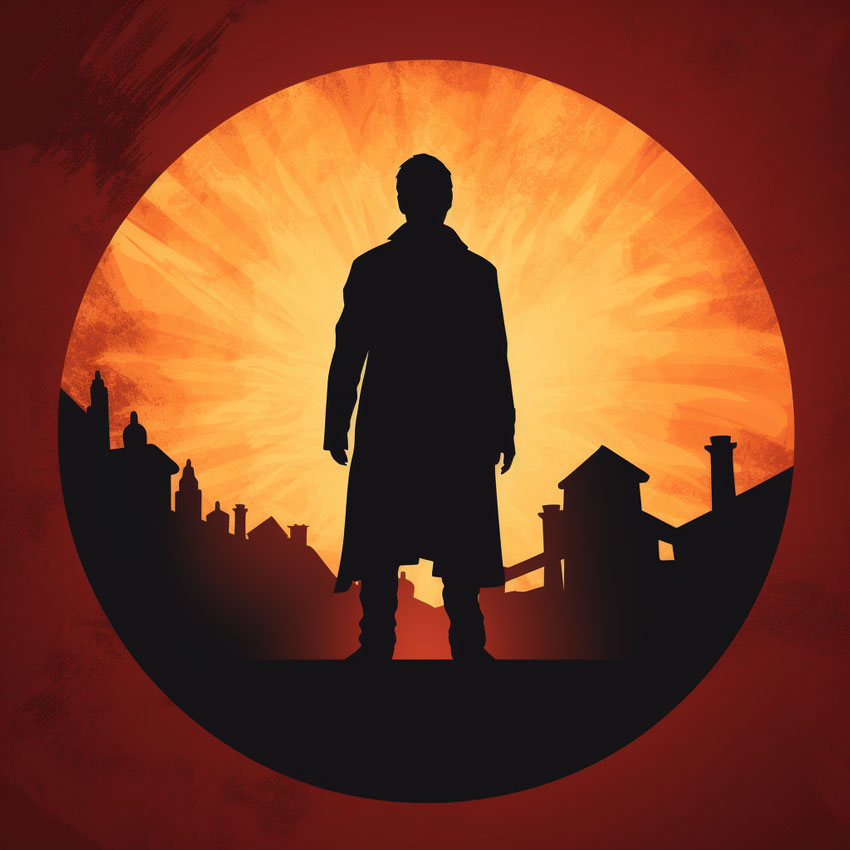
And so, the party heads out of Tarana and into the strange wilds of the Everwood. Aadi, the mushroom hopper, knows mostly where to go, and confidently bounces off with the party aboard, until they reach the edge of the Vault's power. The forest clearing closes behind them, but a single-file footpath opens ahead of our heroes. Aadi, shivering in discomfort, will wait for the party here. Harmony pauses before joining the party, seeming to have zoned out for a moment. Along the path, the party encounters a shadow-corrupted treant that seems to stand guard, or perhaps as a test of valor, which they successfully defeat in combat, and are able to move on, following the footpath as it is revealed to them. Cheyanne loses her focus, and begins to wander off into the forest, but Blackfin brings her back and Doc shakes it off, regaining her focus, determined to find the Vault of Shadows. The first puzzle to unlock the Vault is a large mosaic in a clearing, and a riddle on the wind: “In the deepest night, when the moon does gleam, a tenuousness path reveals my dream. I dance softly in the light, yet hide away from day’s bright might." The party correctly answered "a shadow", and the mosaic revealed itself to be a complicated sundial, and hears more of the same voice: “When the shadow of day reaches for the shadow of night, the song shall begin. Use the sun to unveil what lies in shadow." Recognizing the figures at each hour mark to make reference to the Obsidian Hymn tablet, the party is successfully able to first identify each figure, and then determine the correct order. Harmony noticed each of the figures also had a symbol referencing a moon phase hidden in their mosaics, and the party determined that they had to shine directional light on the central obelisk according the moon phase represented by the figures, in the order of the Hymn. Having solved their first puzzle, the party follows the now-revealed path of obsidian stone pavers deeper into the forest. The second puzzle seems to be a dead end in a clearing affected by a large-area silence spell. An overgrown archway holds five sets of windchimes; one of feathers and wood, one of hollowed wooden reeds and branches, one of bone, one of smooth stones, and one of jagged flint. Even over the silence, a voice on the wind issues a riddle to the party: “I speak without a mouth and hear without ears, I have no living body, but I come alive with the wind’s whispers." The party answers this riddle, "an echo" which lifts the silence barrier. Cheyanne and Harmony notice there are carvings on the archway under the overgrowth, and with the party's help, manage to clear it away to reveal five primitive runic symbols, a bird, a wolf, a willow tree, a river, and the bird repeated. The party quickly determines that the chimes are associated with each symbol, and get four out of five correct on their first try, but still ring the incorrect flint chimes for the river, resulting in a burst of thunder damage. However on their second try, they ring all chimes correctly, and the forest comes alive with sound around them. Not only that, but the pavers at their feet sink into the ground beneath the archway, revealing a hidden tunnel that the party hopes leads them to the Vault of Shadows! The first underground room is well shrouded in shadows, but eight incredibly primitive statues are visible, and a riddle floats to the party on the breeze: "At the edge of life where shadows grow, what stands firm and does not move, yet stands aside for those it knows?" Vaurvan provides the answer to this riddle, "a gate", and eight keyholes are revealed as the shadows pull back from the statues. The party is able to determine that these statues represent the eight schools of magic. Firstly, they work to determine which statue represents divination, and insert the obsidian key given to them by the Council of Matrons
The Sentinel (Abjuration): A towering figure carved from dark basalt, its form is rigid and angular. Its head is featureless save for a single, deep groove where a mouth might be, resembling an eternal frown. Its outstretched arms bear crude, flat shields covered in jagged, abstract carvings that resemble crumbling bricks. At its feet, fragments of stone lie scattered, as if pieces of a shattered wall.
Having placed all keys correctly, the shadows slide back from the far wall, revealing large obsidian-gilt double doors bearing the inscrtiption in celestial: "Surrender yourself unto the Deepshadows." And the party bravely enters.
- The shield reflects light in a way that creates a faint illusion of shimmering barriers around the statue.
- The base of the statue is inscribed with the phrase: "Even the strongest walls hold the seeds of their own undoing."
- A faint mist surrounds the statue, occasionally coalescing into fleeting shapes of strange creatures.
- The base reads: “The gate opens both ways.”
- The orb’s glow reflects faint images of events not yet transpired.
- The base reads: “To know the future is to sacrifice the present, for Sight demands a heavy toll."
- A soft, almost imperceptible hum emanates from the threads.
- The base reads: "To bind the will of another is to unravel the threads of your own."
- The flame seems to glow faintly red and radiates subtle warmth.
- The base reads: "Destruction answers no master, for the spark that lights the flame consumes all."
- Reflections in the mirror shift unexpectedly, showing glimpses of impossible scenes.
- The base reads: “Nothing is as it seems.”
- Faint whispers echo around the statue, sounding like voices from beyond the grave.
- The base reads: "To defy death is to court its eternal shadow, for it never forgets."
- The liquid in the vial seems to move on its own, an illusion created by clever carvings and light refraction.
- The base reads: "In the pursuit of change, one forgets what is real and what is imagined."
The Vault of Shadows
Now within the confines of the Vault of Shadows, the players each feel the oppressive weight of the shadows themselves pressing in from the corners of each room. Safely dispelling the rune of enemies abound on the first iron portcullis they encounter, they are able the first room of the Vault, which holds nothing but a crypt enscribed, "Where light falters, wisdom blooms in shadow's tender embrace." Within the crypt lie the dessicated remains of a priest of ages past, their mulberry robes mostly decayed leaving only fragments of silver stitching. The priest bears a holy symbol that none of our heroes recognize: a fractured mirror reflecting an eclipsed sun. Around his wrist is a string of black pearl prayer beads, and he holds an amulet, a flask, and a waterskin, the three of which radiate magic. The party takes the three items, and Cheyanne identifies them while the party takes a short rest:- amulet of feign death (needed for D8 trap) which allows a single cast of the spell once per day
- a flask of shadow (functions like a one-use cast of darkness)
- an everfull waterskin of the clearest artesian water, which absolutely no one drank from.
Quest Log
Race for the Rails
- Figure out who's behind the sabotage of the Rusty Rails rail line.
- High Noon Shootout: Survive the Vipers gang attack on Copper Ridge. Completed: Session One.
- Wanted: Dead or Alive: Hunt down Fang, the leader of the Vipers bandit gang. Completed: Session Three.
- The Big Bang: Survive the rockslide triggered by the explosion at The Cut, and save as many townsfolk as possible. Completed: Session Four - WIP.
- Under the Light of the Moon: Investigate the large object discovered at the blast site near the Cut. Completed: Session Five - WIP.
- "H.": Follow up on the lead in Z'Veena about the mysterious "H." who hired the Vipers to disrupt the Rusty Rails construction project. Letter found in Session Three.
The Vipers
- Find out where the money went. Get it back.
- Red Rock Ridge: Clear out the Vipers bandit gang from their hideout/stronghold near Copper Ridge. Completed: Session Three
- As the Crow Flies: Track down "Crow", the mage who sold Sage, the snake with a hundred mage hands to Fang, leader of the Vipers bandit gang. Completed:Session Eleven
- The Mysterious S.V.: Find where the stolen money went by tracking down "S.V.", per a letter from Fang's boot, received in Session Three.
- Sage, the Snake with a Hundred Mage Hands: Track down the snake used in the Copper Ridge heist. Calicrysta Byrch says it is probably seeking its mother - search for a large, darkly iridescent scale similar to the one Crysta used to create Sage. Perhaps in Z'Veena?
Uncovering the Past
- Uncover and identiry the mysterious object unearthed by the explosion.
- The Trill Society: Visit the headquarters of the Trill Society, an archaeological guild. Completed: Session Nine Report
- Primordial Remains: Follow up with Field Crew Callithrix after they've had time to excavate the site near Copper Ridge.
- The Vault of Shadows: Locate and explore the Vault of Shadows, returning to the Council of Matrons in Tarana when finished. Current quest!
A Curious Wreckage:
- Investigate the airship wreckage and learn what happened to the vehicle.
- Dearest Renegade: Investigate the crashed airship, Dear Renegade, its wreckage located outside of Copper Ridge. Completed: Session Two
- Repair the Black Box: Repair the glass orb recovered from the crashed airship. Lew's notes at Rainwood Hall indicate the Lascari twins in Nova Excelsium were the creators of the orb.
Other Missions:
- Assorted and unoffiliated missions (for now...)
- Restore Zeb's Memories: Zeb, who runs the Copper Tubs bathhouse in Copper Ridge appears to have serious amnesia.
- Haunting Blueprints: Follow up on the airship tower blueprints found at Lew's workshop at Rainwood Hall, as found in Session Nine Report.