Zork III: The Dungeon Master - 1982
Infocom, various PC platforms
This has moved over to a new location here.
Pausing to release their first non-Zork game, Deadline, Infocom quickly followed it up with Zork III. The last pieces of the now heavily chopped up and borrowed from PDP-10 "mainframe Zork" were used to create the backbone of the game.
By this point in Infocom's history, they had released four games which all would go on to sell more than 100,000 copies. They would only manage to cross this threshold three more times across their whole catalogue, a total of thirty-five games. The trilogy would later be repackaged into one box (with just a single floppy disk!) in 1988, potentially as a last-ditch effort to lift their rapidly diminishing sales figures.
Getting Started
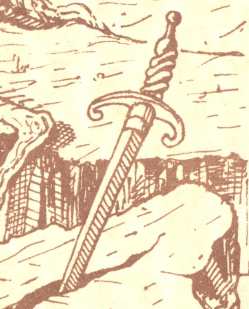
I start right where I left off. I finished Zork II at the start of a staircase and I begin this game at the bottom. I am treated to a more flowery bit of scene-setting than I have received in the previous titles. It points towards Zork III being a bit more magical and a bit less static than the predecessors.
As in a dream, you see yourself tumbling down a great, dark staircase.
All about you are shadowy images of struggles against fierce opponents
and diabolical traps. These give way to another round of images: of
imposing stone figures, a cool, clear lake, and, now, of an old, yet
oddly youthful man. He turns toward you slowly, his long, silver hair
dancing about him in a fresh breeze. "You have reached the final test,
my friend! You are proved clever and powerful, but this is not yet
enough! Seek me when you feel yourself worthy!" The dream dissolves
around you as his last words echo through the void....
I grab my familiar light source and start mapping the surroundings. Similarly to Zork II, I note an improvement in the prose, especially in the language used to describe where I stand in relation to the wider world. I also quickly notice that there doesn't seem to be a huge amount of space to explore and that I really don't have much idea what I am doing.
I have a slightly awkward interaction with a man who appears to be trying to rob me. I battle a little with the parser here, but following his instructions seems to work and I am left with a wooden staff. I am also beset by a foe while walking around the Lands of Shadow so I spend far too many turns killing him. More on that mistake later...
I also notice that I can give some bread I found to an old man and he opens up a secret passageway.
The Portal and the Aqueduct
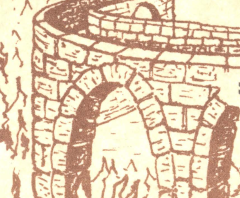
Realising that I could swim in the lake after more time than I care to admit, I find a few more rooms to explore. In fact, I find one of my favourite puzzles from across the whole trilogy. Within the Scenic Vista is some sort of scrying system that lets me step briefly into one of four rooms, one from Zork I, one from Zork II, the Damp Passage from this game and some sort of instant death sequence from a potential Zork IV.
This is the interior of a huge temple of primitive construction. A few
flickering torches cast a sallow illumination over the altar, which is
still drenched with the blood of human sacrifice. Behind the altar is an
enormous statue of a demon which seems to reach towards you with
dripping fangs and razor-sharp talons. A low noise begins behind you,
and you turn to see hundreds of hunched and hairy shapes. A guttural
chant issues from their throats. Near you stands a figure draped in a
robe of deepest black, brandishing a huge sword. The chant grows louder
as the robed figure approaches the altar. The large figure spots you and
approaches menacingly. It reaches into its cloak and pulls out a great,
glowing dagger. It pulls you onto the altar and, with a murmur of
approval from the throng, slices you neatly across your abdomen.
Rest in peace me I guess.
I get lucky here and intuit the layout of the world well enough to solve the overall puzzle here almost immediately. I attribute this largely to the map I am making giving me an idea of where the aqueduct must be. A torch left in a specific place for later and the previously unusued grue repellant from Zork II set me up nicely to retrieve a strange key.
This puzzle feels like a more elegant version of the mine shaft in Zork I. In both cases, I need to get a light source into a location that I will be entering in future. The big difference, and the reason I am much happier with the Zork III version, is that a player may solve the puzzle while trying to achieve something slightly different. I used the viewing window as a way to pass the torch (which I had assumed had infinite duration) out beyond the lake so that I could use it when the lantern ran out, but instead found it illuminating my destination after completing the aqueduct. In contrast, Zork I required an active decision to use a leap of logic (that one room sat directly beneath another) with no benefit if you were wrong.
The Museum
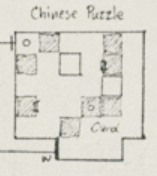
After spending much too long wondering which location I have missed, I realise that the collapsing aqueduct has opened open a new route on the eastern side of the map. It leads to a museum, which contains two puzzles.
The first I interact with is the Royal Puzzle, which in the game files is referred to as the Chinese Puzzle, possibly in reference to the traditional Huarong Pass Puzzle. It is most similar to Sokoban, but it is worth noting that Sokoban released a couple years after the puzzle originally appeared in mainframe Zork. This is my favourite puzzle across the trilogy because it relies heavily on mapping the area out before attempting a solution. There's also what appears to be a red herring in how to get out; an easily accessed door appears to destroy any item used in an attempt to unlock it. My only complaint is that the game is a little generous in giving you information in the form of the little top-down 3x3 map you are given each time you move. Completing this puzzle allows me to leave with a book, one of a growing number of items that I appear to be adorning myself with.
The other puzzle here involves attempting to liberate the crown jewels from a museum using time travel. There's a bit of a cultural reference here too: the time machine conjures strong images of H. G. Wells' device. While the core premise of this puzzle was interesting — and contains some fun failure messages! — I found that there was the familiar struggle around guessing some actions that were possible to be taken without clues pointing me there like, most notably, the fact that the whole device may be pushed into other rooms. However, even though this puzzle left me struggling a little, it still felt like there was a natural progression to my failures. The further I get through the series, the more partial successes exist, which give a rewarding sense of improvement and knowledge on my part. For example, the first time I manage to steal the ring, I leave too many clues behind as to how I did it which causes the guards to confiscate the time machine and thus hiding it in the present day.
This, to me, is the true improvement and growth that is happening throughout Infocom's interactive fiction.
Nearing the End
Finally, I make my way to what appears to be the final segment of the game. I encounter the most overengineered puzzle up to this point and it leaves me a little cold. I am given the biggest block of descriptive text I've ever seen and it still doesn't manage to clearly describe what I am inside:
You are inside a rectangular box of wood whose structure is rather
complicated. Four sides and the roof are filled in, and the floor is
open.
As you face the side opposite the entrance, two short sides of
carved and polished wood are to your left and right. The left panel
is mahogany, the right pine. The wall you face is red on its left
half and black on its right. On the entrance side, the wall is white
opposite the red part of the wall it faces, and yellow opposite the
black section. The painted walls are at least twice the length of
the unpainted ones. The ceiling is painted blue.
In the floor is a stone channel about six inches wide and a foot
deep. The channel is oriented in a north-south direction. In the
exact center of the room the channel widens into a circular
depression perhaps two feet wide. Incised in the stone around this
area is a compass rose.
Running from one short wall to the other at about waist height
is a wooden bar, carefully carved and drilled. This bar is pierced
in two places. The first hole is in the center of the bar (and thus
the center of the room). The second is at the left end of the room
(as you face opposite the entrance). Through each hole runs a wooden
pole.
The pole at the left end of the bar is short, extending about a foot
above the bar, and ends in a hand grip. The pole has been dropped
into a hole carved in the stone floor.
The long pole at the center of the bar extends from the ceiling
through the bar to the circular area in the stone channel. This
bottom end of the pole has a T-bar a bit less than two feet long
attached to it, and on the T-bar is carved an arrow. The arrow and
T-bar are pointing west.
Echoing my frustrations in previous parts of the game, this puzzle relies the leap of intuition that I am actually inside a vehicle, but there is no real hint in the description that the whole apparatus can move. I come to the conclusion that this might be the case because the short pole sounds a little bit like a low-tech handbrake, but I struggle to get the whole thing to move. I end up resorting to finding some answers online and then kick myself — this is the third puzzle in the game solved by "PUSH"ing.
There is a pair of statues here that destroy anything they see. While this is solved as part of the mirror box vehicle, I find myself wishing that the solution involved tricking them to destroy each other somehow.
Finale
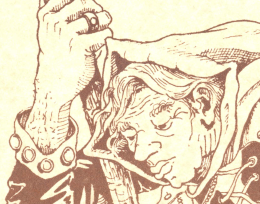
With a collection of now worn seemingly random "treasures", I find myself at a large door that stands as a barrier to the very last bit of the original Zork trilogy. It's a barrier that I cannot open. I cannot open it because "KNOCK" has not been a verb I have used at any other point in the series. This stymies me until I get bored and look up the answer.
Inside, I am greeted by the Dungeon Master. He becomes a companion like the robot of Zork II and can be ordered around. He helps me solve the final puzzle of the game, which I have to admit I simply brute forced. I am rewarded with the remaining untold riches of the Great Underground Empire:
This is a large room, richly appointed in a style that bespeaks exquisite
taste. To judge from its contents, it is the ultimate storehouse of the
wealth of the Great Underground Empire.
There are chests containing precious jewels, mountains of
zorkmids, rare paintings, ancient statuary, and beguiling curios.
On one wall is an annotated map of the Empire, showing the locations of
various troves of treasure, and of many superior scenic views.
On a desk at the far end of the room are stock certificates
representing a controlling interest in FrobozzCo International, the
multinational conglomerate and parent company of
the Frobozz Magic Boat Co., etc.
But wait! Something else has happened. It seems that all may not be as it seems. The treasures I have been collecting this time round have almost formed a uniform, and a final event occurs:
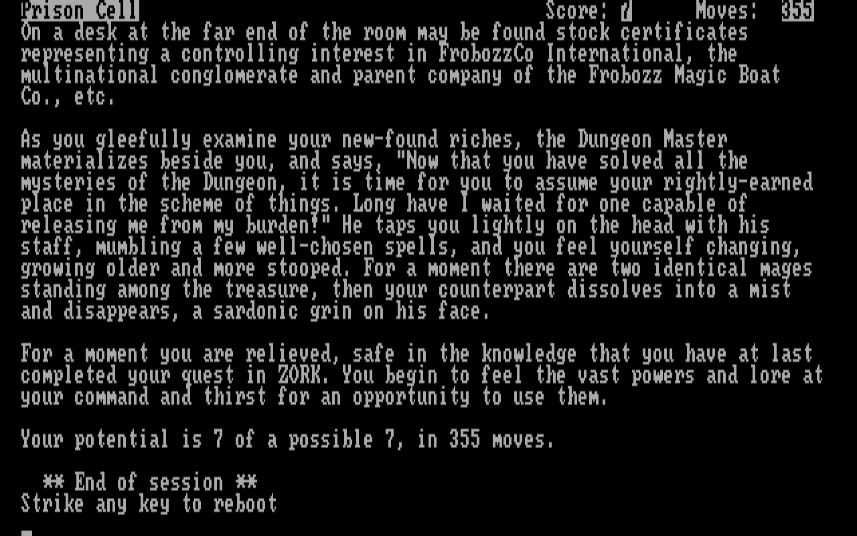
That's quite the ending. I can only imagine that players were initially forlorn about this, especially as the last uplifting paragraph was only added to the ending in Zork III when compared to the otherwise identical ending scene in mainframe Zork.
Closing Thoughts
While I think that Zork I had the best world to explore, Zork III was leaps and bounds ahead with its puzzles and the ongoing improvements to narrative structure. There has also been a behind the scenes shift throughout the series. More and more of the content has been missable or optional, particularly the interactions with other characters within the world. Being able to peek into the source code and see all the actions I could have taken, especially those around mistakes or silly actions, reveals a wealth of missed things. It is possible, for example, to use the torch to set the wooden staff on fire, which instantly kills you.
Playing these three games has given me insight into what I find enthralling about the genre: the methodical mapping and mastery of the game environment, and well-crafted puzzles that don't rely on guesswork or illogical leaps of intuition.
Much better puzzles than its predecessors diminished just slightly the relative lack of exploration.
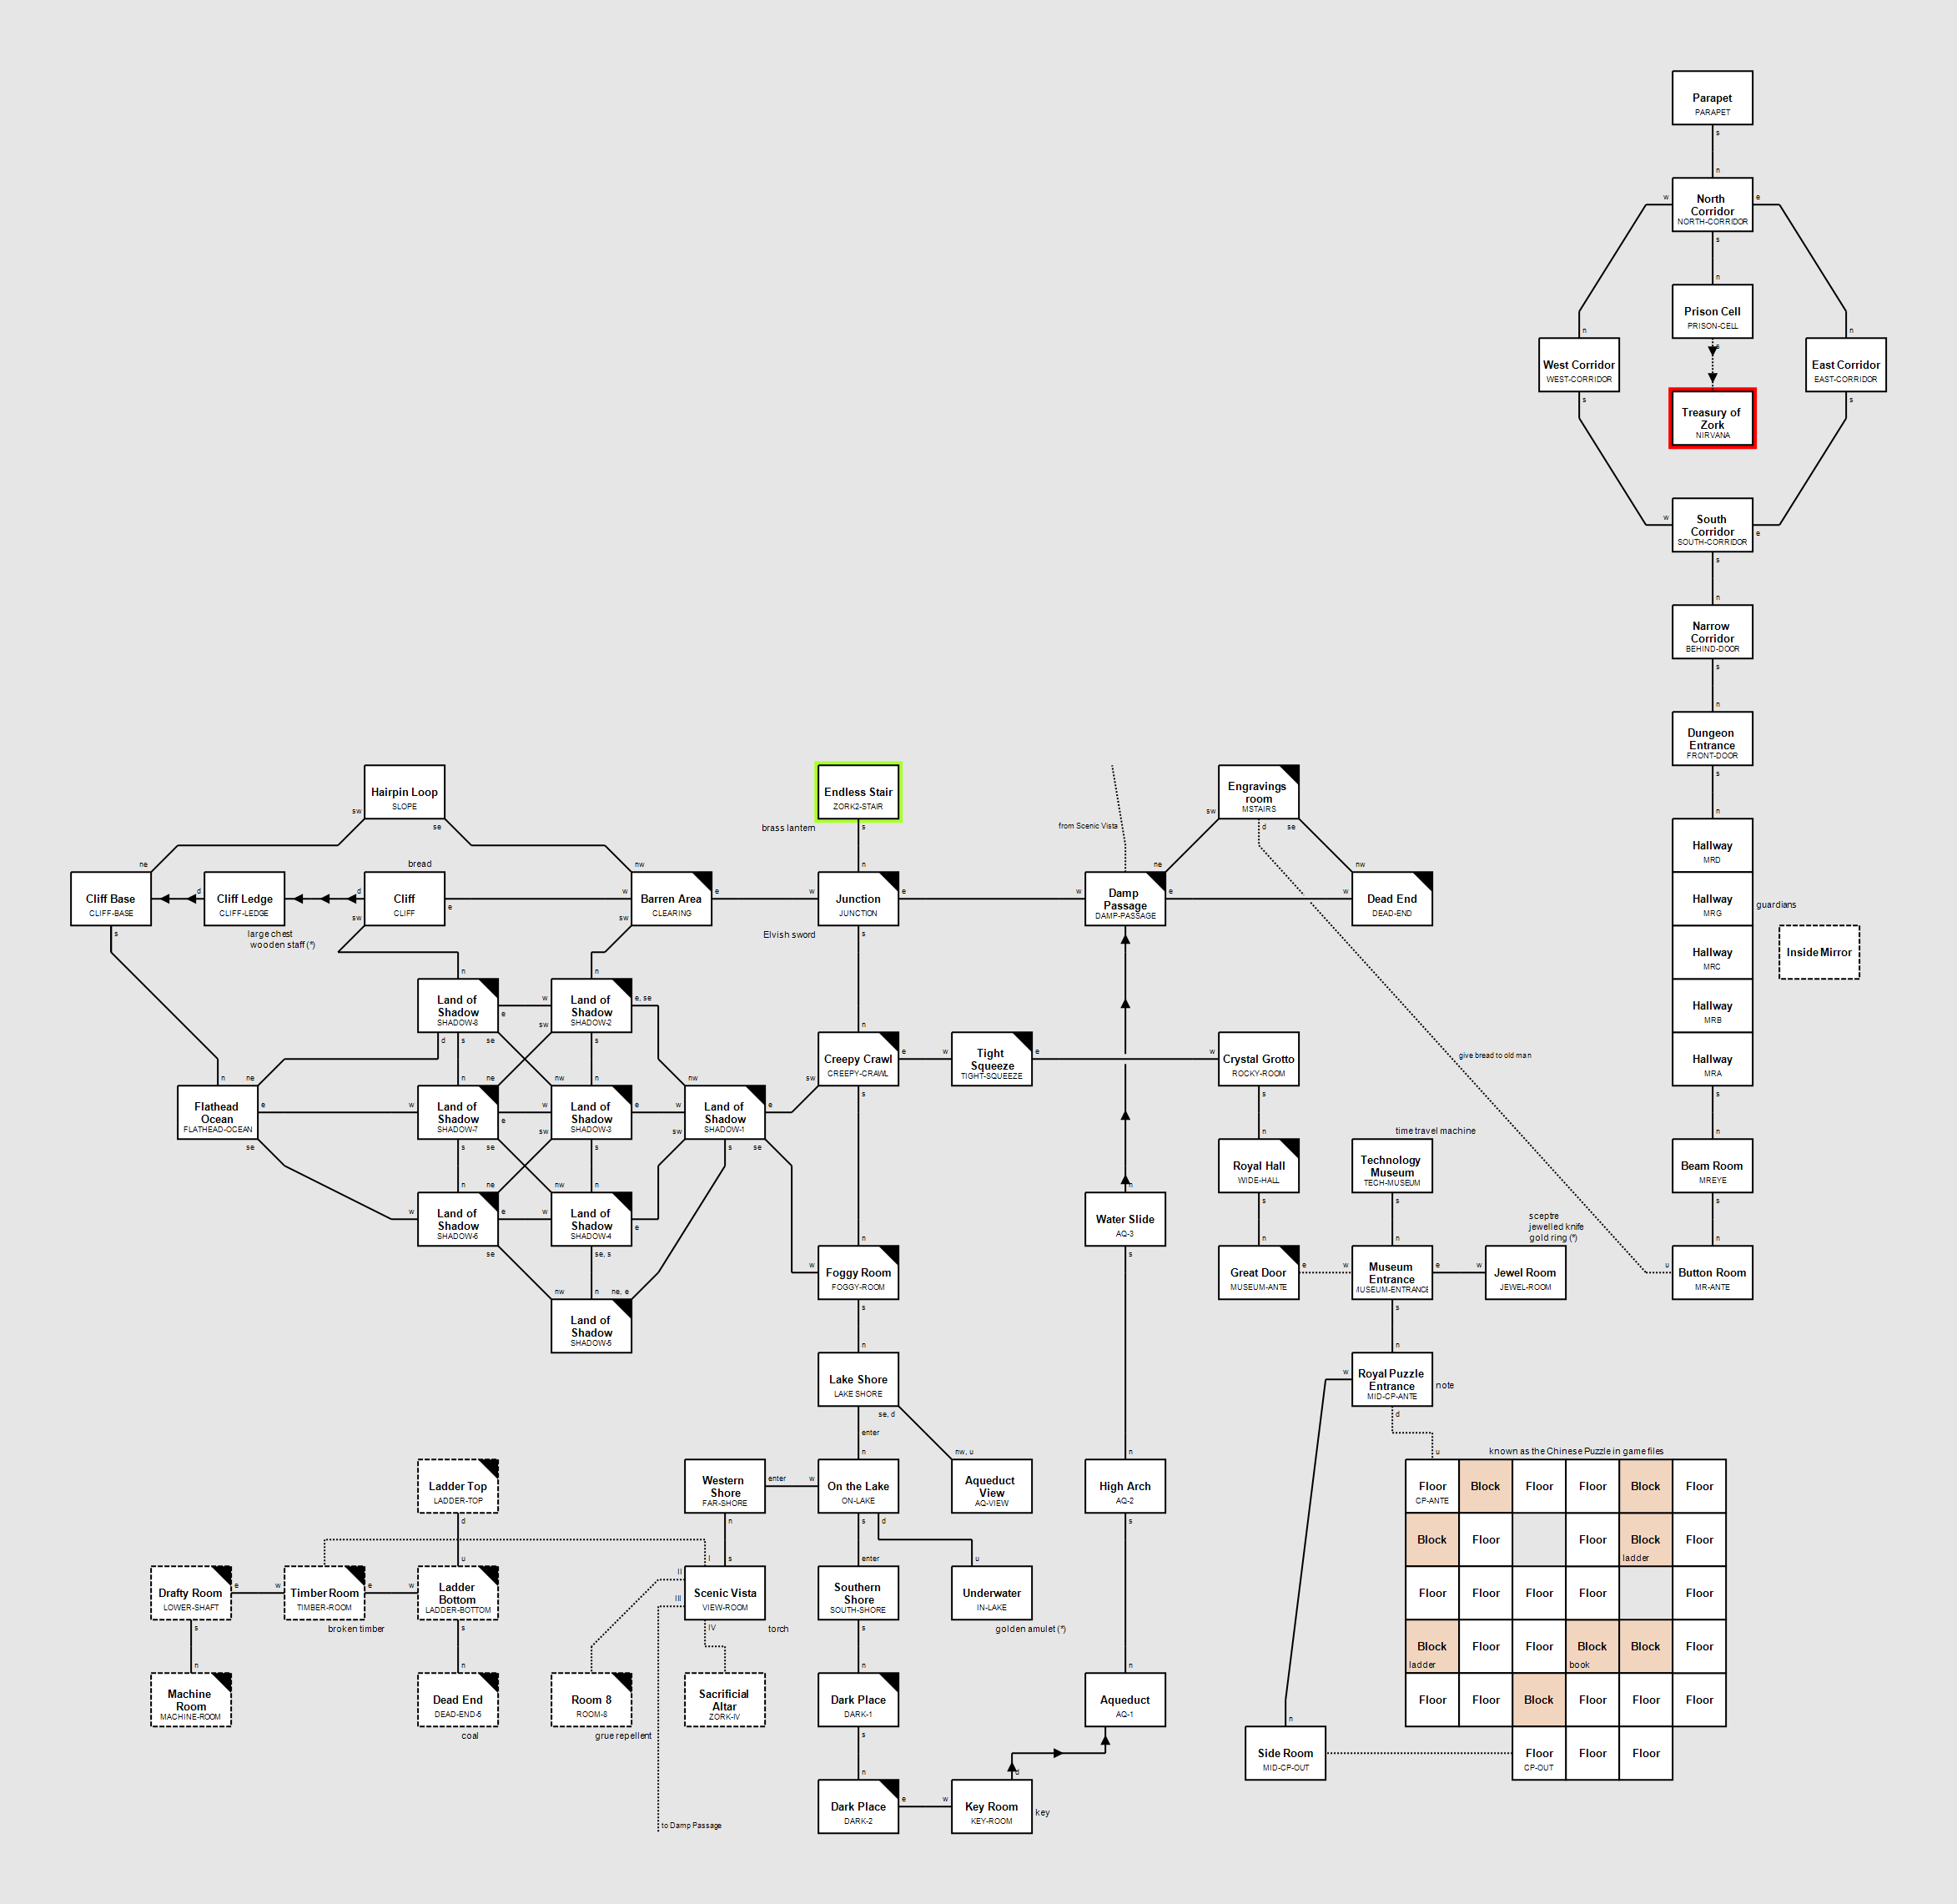
My completed map for Zork III. Dark rooms have a wedge at the top right. The royal puzzle at the bottom left displays sandstone blocks (the ones that can be pushed) as coloured in.
Memorable Content
Locations:returning to the Zork I coal mine,
the Royal Puzzle,
and the loop over the aqueduct.
The Dungeon Master.
Items:The crown jewels,
and the grue repellant (actually useful this time).
The Royal Puzzle!
Tabletop Zork III Treasure Roller:Roll 1d15 and consult the following: |
1 - Wooden Staff Clearly magical, but difficult to identify. |
2 - Gold Amulet Of high quality. |
3 - Hooded Cloak Well-made, but very old. |
4 - Royal Ring Worth a sizeable sum.* |
5 - Strange Key A small chance to open any lock. |
Remove these ads. Join the Worldbuilders Guild



Comments