Creating a Shard
Create A Small World
Worldbuilding seems like a high order to fill for a game master. You have to take the intricacies of a world and all the systems and subsystems that move them and create or recreate them for authenticity. In a sandbox type environment, particularly with the shard based system a hard and fast approach is acceptable. A systematic approach is ideal.Shard Creation Tables
If you want to create a shard through random generation, the following configurations can be determined and detailed through several d6s or with the onboard rolling system provided below. Shards can be fit together to create a Realm and can be springboarded to create different biomes for the world if you fit several together. The d6 die can be used to generate the multiude of hexes in a shard, the geometric orientation according to side (1 starting at the top and counting clockwise from each side) or a configuration option from the chart. Edit, reduce or alternate as you desire and mix and match with other charts you like from other hexcrawling tables. The randomness is fine inspiration for creation!Shard Gazetteer
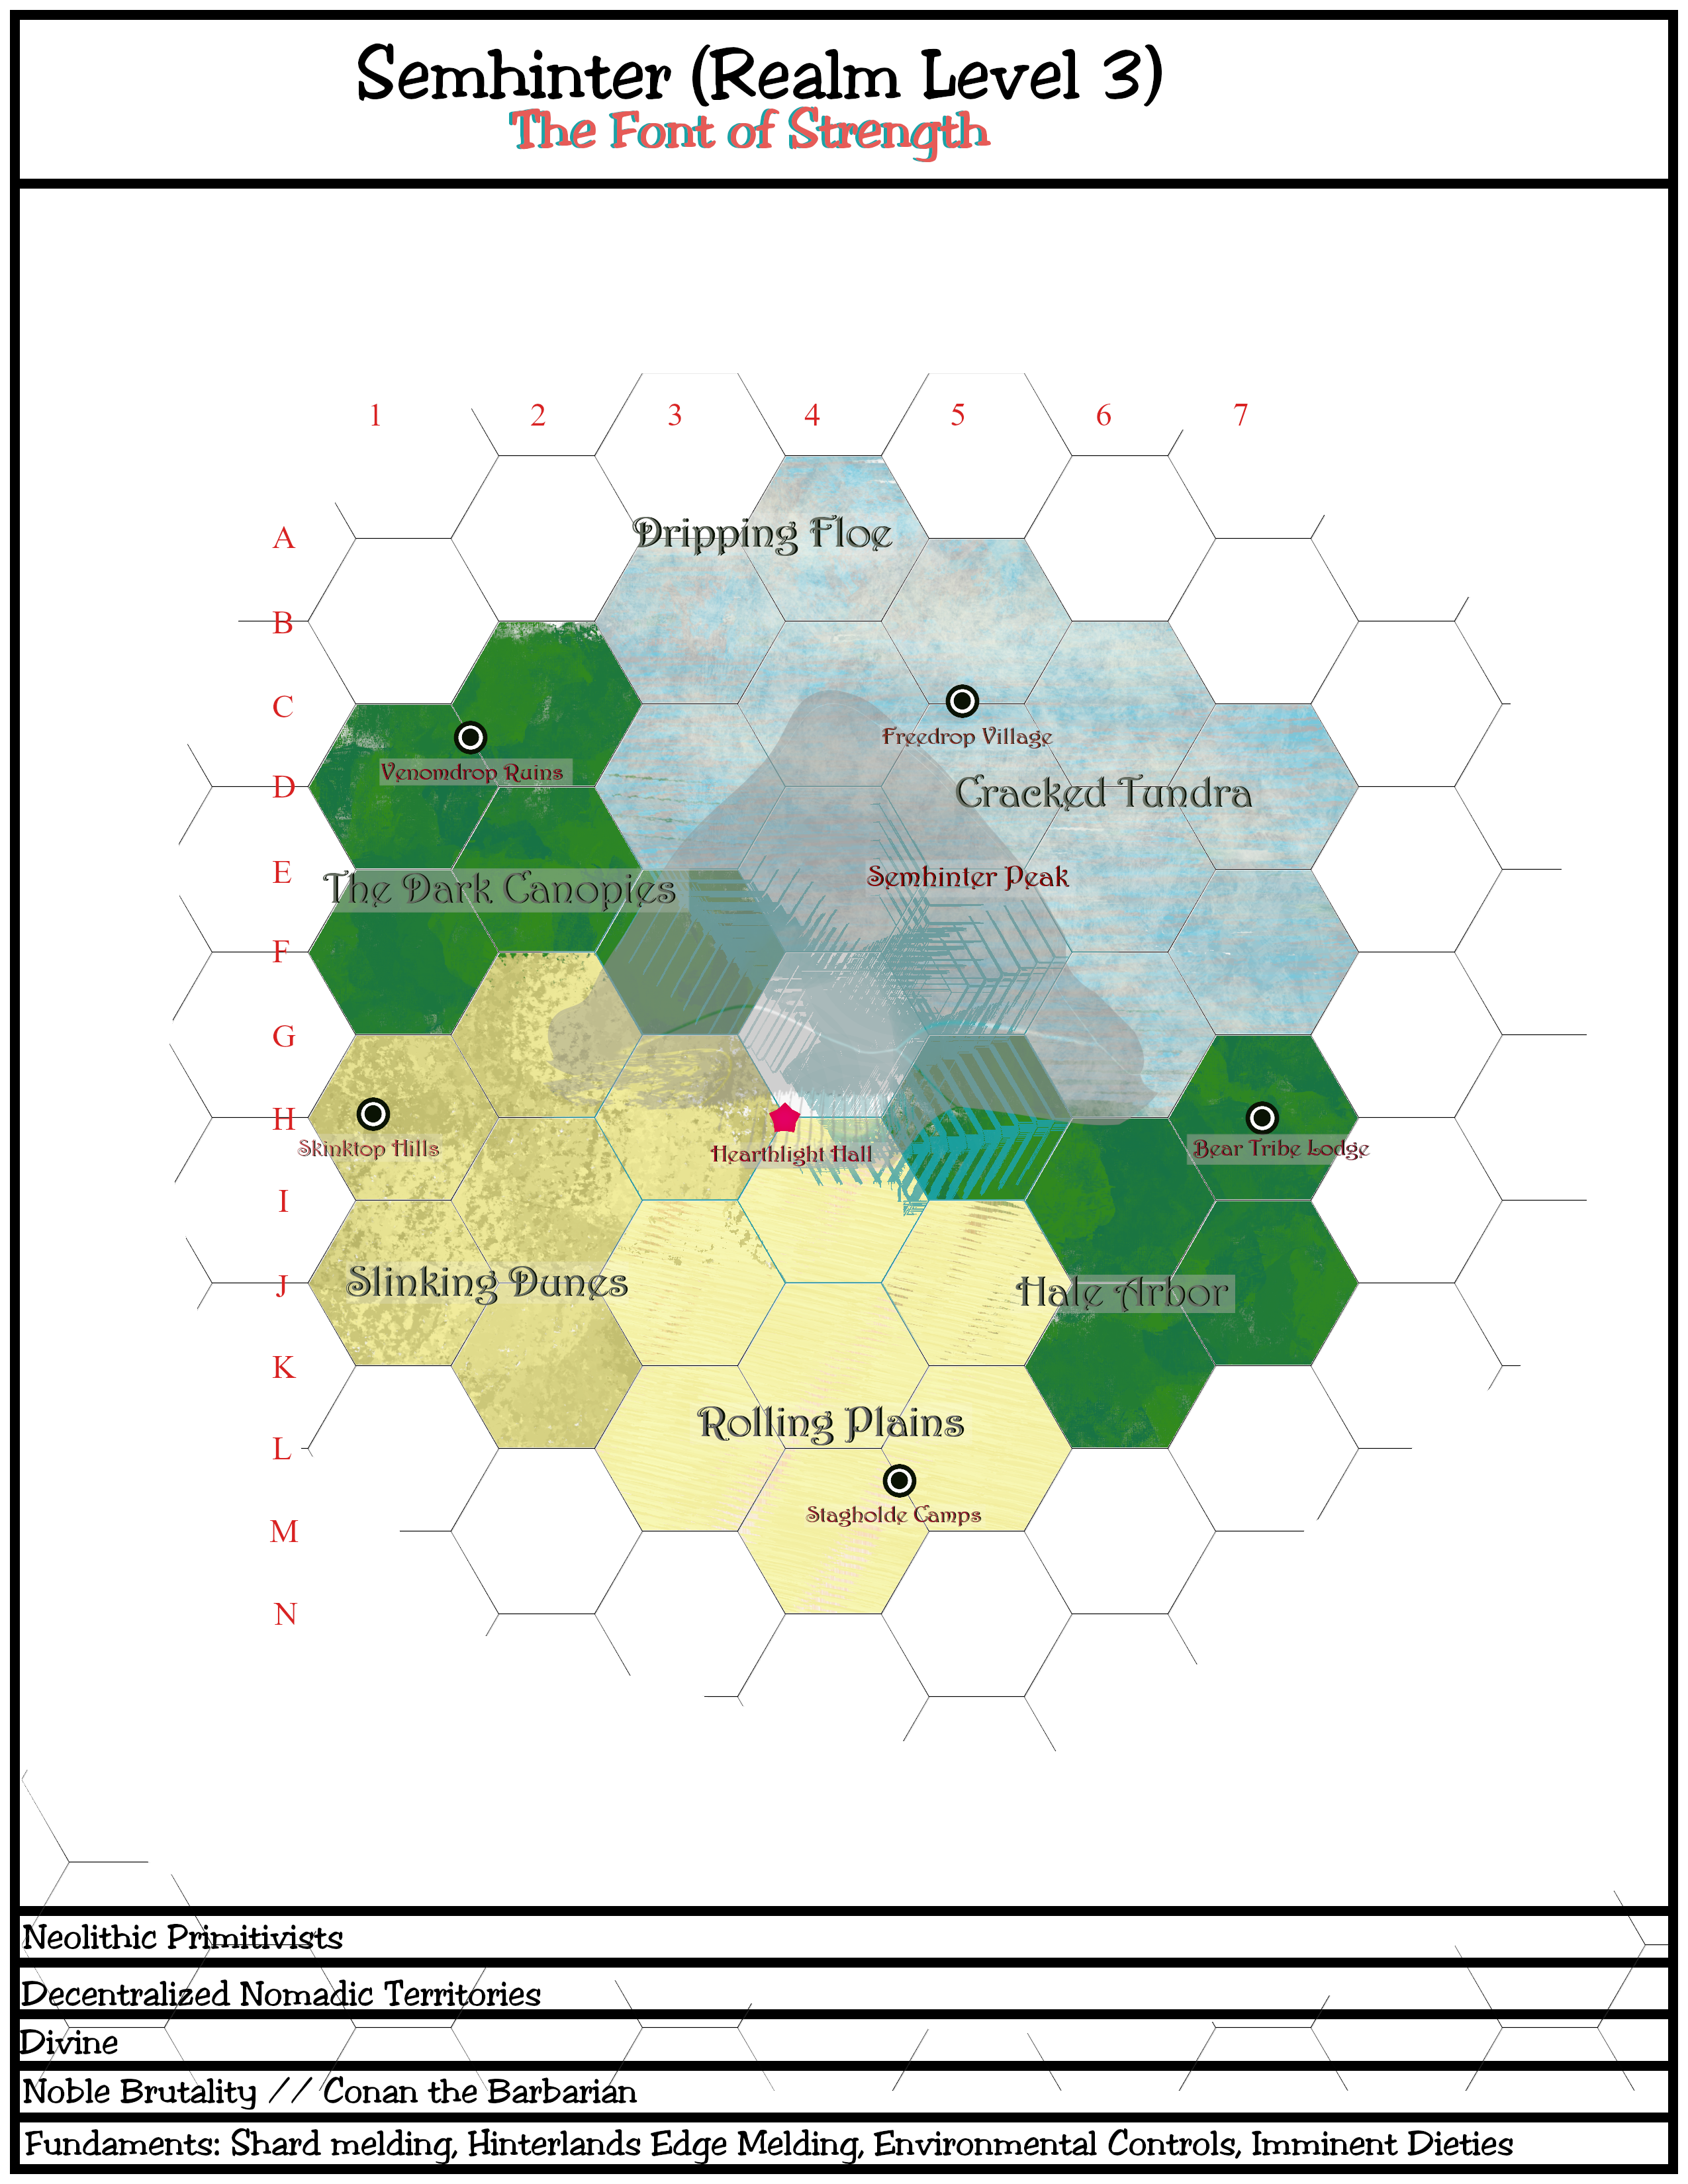
The initial piecework of worldbuilding, game master side is the Gazetteer. It is a two to three page document showing a complete map of the shard and some analytical information to help another Game Master who is unfamiliar with the world gain a minimal understanding by looking at it. Included are major keyed out geological, political and historical features for adventurers to explore, and a list of important NPCs they might have exposure to wandering the place. The Gazetteer map will feature:- 2500 x 2500 size map, regional or duchy size.
- Minimaps of the map describing different filters such as political boundaries, topography change, climate biomes, divine territory, leylines- whatever is pertitent to the realm's theme.
- A hexgrid to separate the regions, complete with axial labels to make references to landmarks and regions.
- A short list of tropes, archetypes and categorizations on the front with a title.
- A detail sheet with an abstract describing the elevator pitch for the realm and a synopsis (max three sentences or statements) for each of the important attributes for the realm (Societies, Local Conflicts, Geography, Types of encounters for adventurers, loot and resources, aesthetic motifs).
- A sheet detailing of points of interest (about two to three statements apiece and a very important npcs and factions to include)
Moodboarding
Sometimes you don't really need to create a whole gazetteer like a traditional publishing group, sometimes the moods can be better conveyed through art through images, music, or articles. Moodboards are sometimes used by creatives for project direction, originally pasted together from newspaper clippings, photocopies and magazines-- but in the days of the internet you can form a collage in many different image softwares to bring the proper shorthand across to other GMs, or collaboratively build a shard before it is released for players to explore.Gazetteer Method
To create a gazetteer without the use of paid programs, there is a steady method available with open software. For the sample above, OpenOffice was used to add textual details and compile a pdf.To create a cover image for the shard map and filters, GIMPwas used. The base image can be created for use in a 2500x2500 pixel window separately or a reference could be used if so desired.
To create a hexmap, template out some grids using the Mosaic filter X
Found in Filters > Distort > Mosaic
Here are the optimal settings for a hexgrid:
Tile Size: A couple different options,
- 100 pixel for single grid
- 500 pixel and 50 pixel for 6-12 tile maps with a grid/subgrid
- 1,000 pixel and 100 pixel (for 1-3 tile realms)
Tile Neatness: 1.000
Tile Color Variation: 0.000
Tile Spacing: 1
To create duplicates of the map, dissecting the pieces into filter maps, duplicate the layer, editing them with guidance from the hexgrid you just created to create concise zones for the map. Resize them to 1:10 or 1:15 the size with the Scale tool, placing them in the corner of the 2500x2500 pixel image. Order the layers so that the base map image is at the bottom of the hierarchy, while the grids, labels and minimaps layer above them.


Comments